

The vSphere Lifecycle Manager has been accompanying us since vSphere 7, which not only allows us to equip hosts with the latest ESXi and vendor add-ons, but also to update hardware to be VSAN-compliant and equip it with fresh firmware.
Hardware manufacturers such as HPE, Dell, Lenovo, Fujitsu, etc. have continuously improved their support and expanded their Hardware Support Managers.
For administrators, it’s definitely worth using these tools. The manual firmware update process becomes as simple as a host update.
Here, we’ll discuss how to configure and use the Hardware Support Manager, specifically the HPE OneView for VMware vCenter, which we’ll refer to as OV4VC from now on.
Prerequisites:
I don’t want to start from scratch, so here are my prerequisites:
- vCenter with vSphere 8 (version 8 U3b in my lab)
- A few HPE hosts with ESXi (in my case Proliant DL380 Gen10), ILO configured
- HPE OneView Appliance deployed and ready (here: v9.10)
- HPE OV4VC Appliance deployed and ready (here: v11.6)
Instructions for OneView and OV4VC deployment can be found here and here.
OneView Standard is “free”, i.e. without a license. Since I haven’t entered a license, I assume I’m using “Standard” 😎.
Step 1: Adding Hosts to HPE OneView
Under “OneView >> Server Hardware” add the ILO hosts with the option “Monitored“:
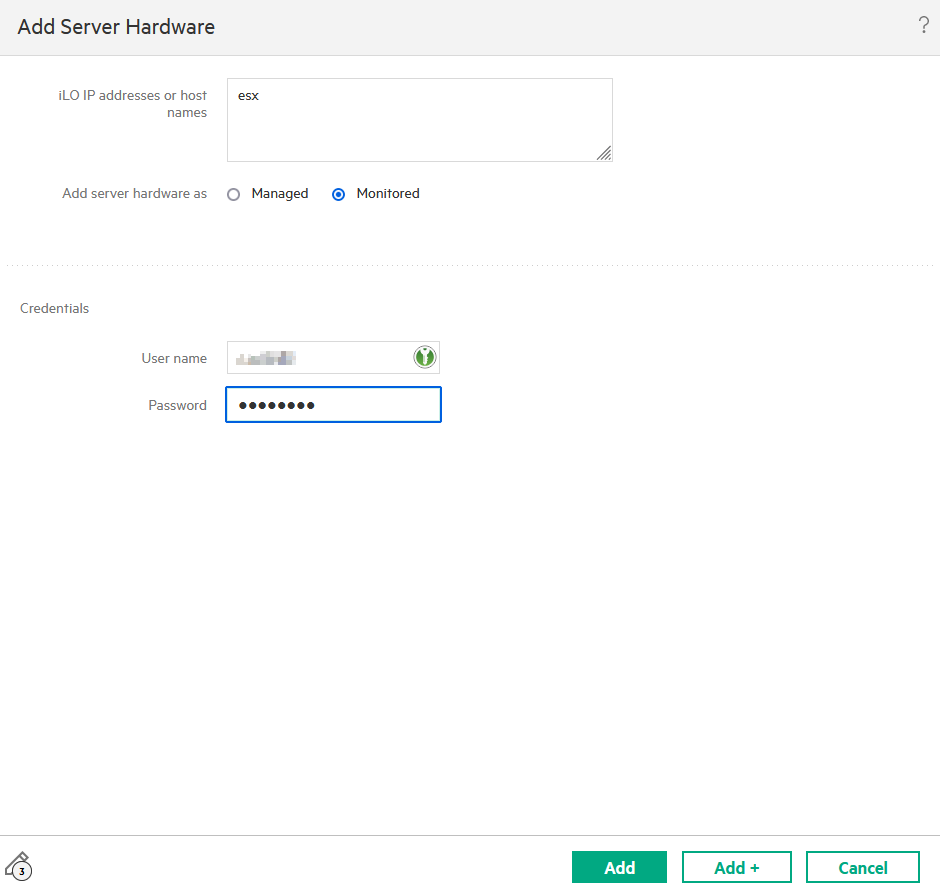
(“Monitored” is sufficient for the interaction with vCenter, those who want more should choose “Managed“, but this theoretically requires licenses)
The server should then appear as “Monitored” in the list:
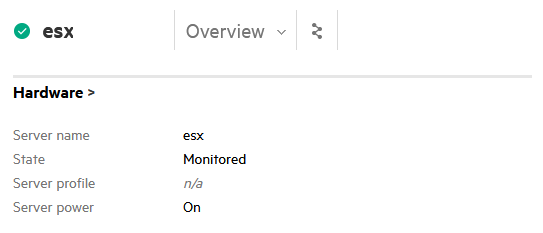
If a server is listed as “Unmanaged” or “Unconfigured” here, remove the
server and re-add it. The vLCM update process will otherwise fail.
Step 2: Integration of HPE OV4VC into vCenter
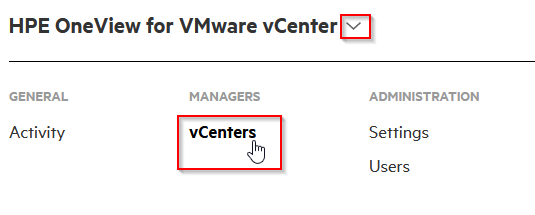
First, OV4VC must be registered as a plugin in the vCenter.
To do this, access the appliance via its web interface and select “vCenters“:
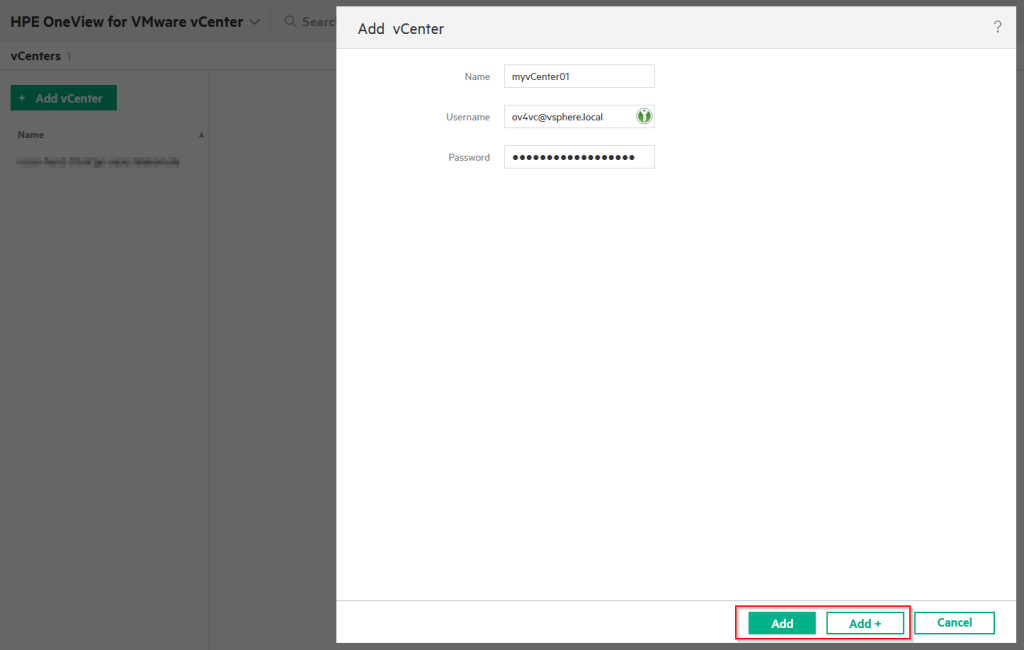
Well, then add the vCenter(s) of your choice:
This will add the plugin to the vSphere UI, and it will look like this:
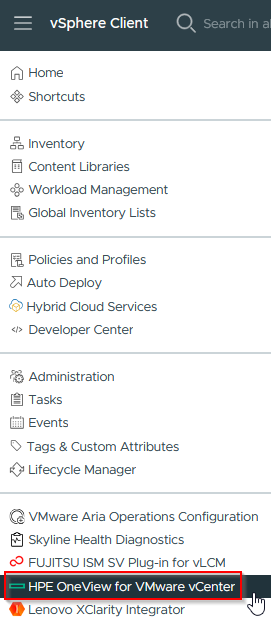
If we now select this plugin, under “HPE OneView Service Pack Management” the function “Add Certificate” can be selected, and the OV4VC certificate will be stored in the vCenter as a Trusted Root Certificate.

Step 3: Add Firmware/SPP
In the first step, download a fresh Proliant Support Pack as an ISO that is supported by our ESXi version. This can be done here: https://spp.hpe.com
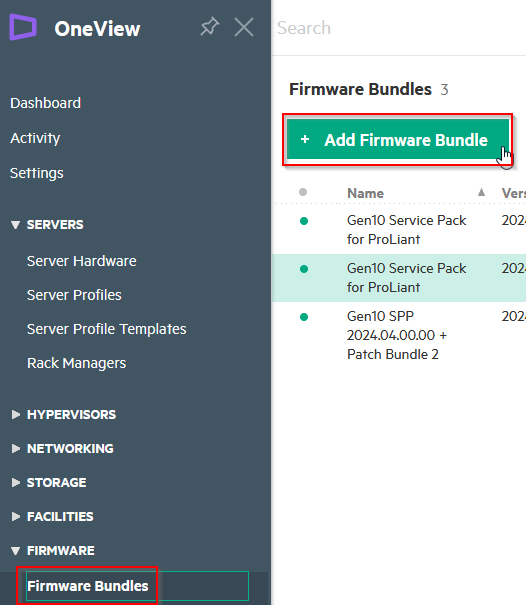
Then, back in HPE OneView, under “OneView >> Firmware Bundles >> Add Firmware Bundle” upload the ISO file:
Step 4: Provide firmware for vLCM in OV4VC
Now that the firmware is available in HPE OneView and I can distribute it to the servers from there (anyone can do that!), it still needs to appear in the vLCM.
Here’s how to do it:
In the OV4VC plugin, add the desired version to the Lifecycle Manager repositories by clicking “Register“:
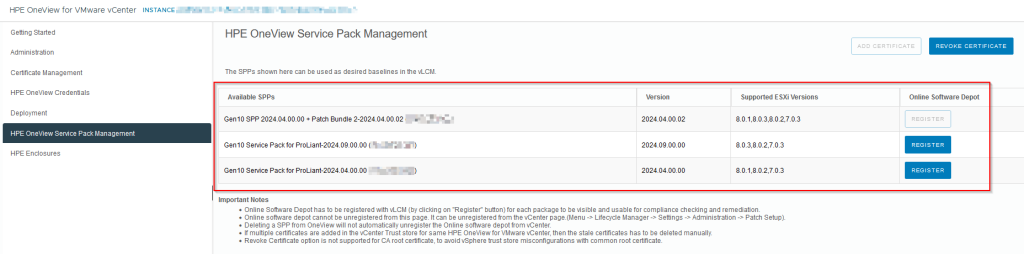
What happens now: the desired version is added as a vLCM repository for each available ESXi version.
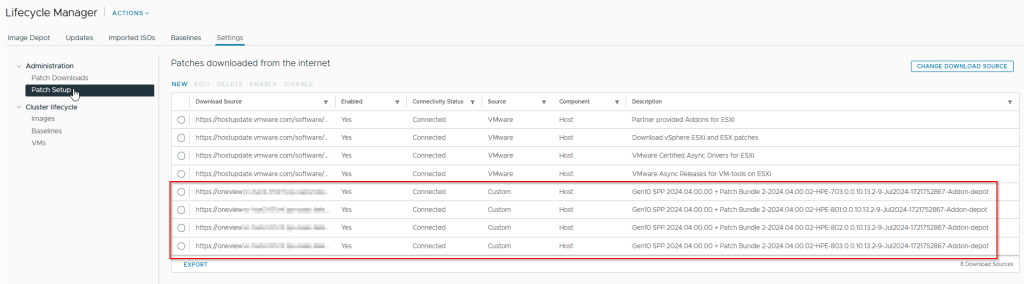
You can view this under “Settings >> Patch Setup” in the Lifecycle Manager. Here, you can also disable or delete individual patch repositories.
Step 5: Adjustments to the ESXi Hosts
It would be too easy if we were already done. First, the hosts need to be allowed to install the firmware using the Integrated Smart Update Tool (aka iSUT, which is included with the HPE Vendor Addons, so make sure to install them).
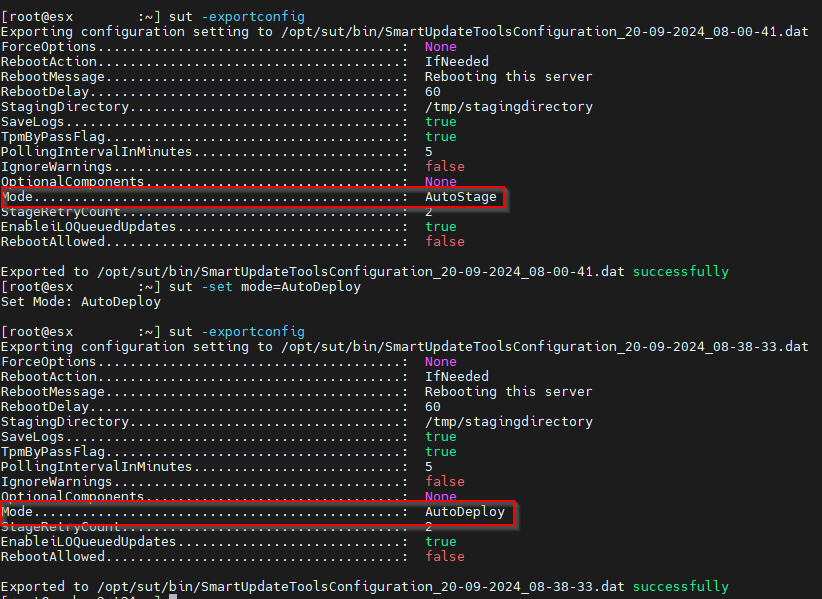
To do this, a parameter needs to be adjusted for each host, here are the commands:
sut -set mode=AutoDeploy
sut -exportconfigCode language: JavaScript (javascript)
With “exportconfig” you can check if the parameter is set correctly.
Example of how it looked on my servers:
Pete Flecha also wrote about it in his VMware blog some time ago:
vLCM Remediation Update Fails for Possibly Transient Reasons
Step 6: Creating the vLCM Image
With that, we’re finally done and the image can be created.
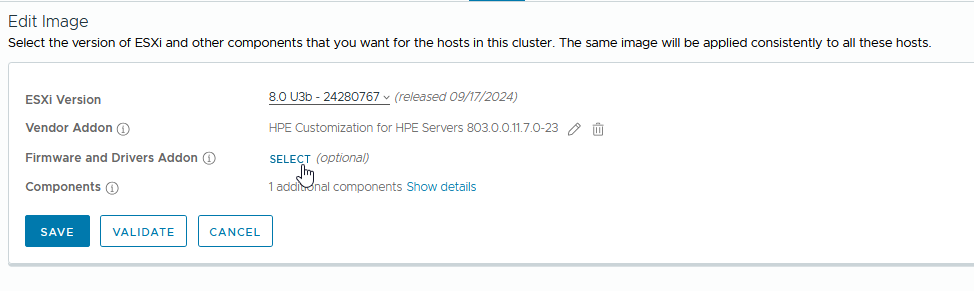
Under “Cluster >> Updates >> Image >> Edit“, set the desired ESXi version and vendor add-ons, and finally select “Firmware and Drivers Addon“:
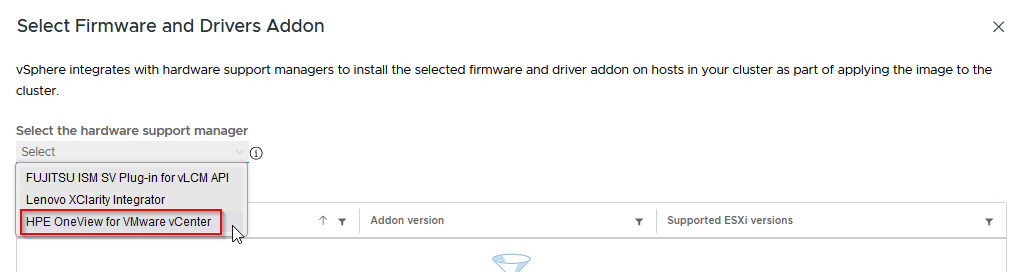
Select the Hardware Support Manager from HPE:
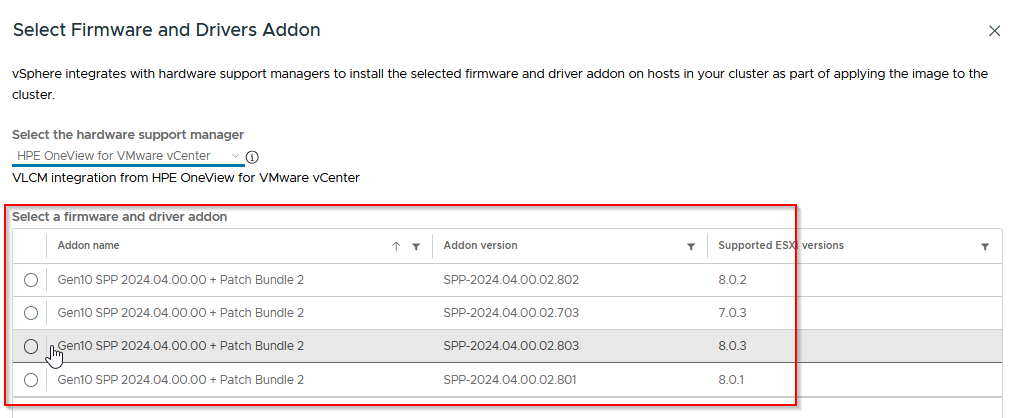
Select the bundle that matches the ESXi release:
Save 💾:

Step 7: Remediate the Clusters/Hosts
After a compliance check of the cluster, the vSphere Client should now report that the hosts are non-compliant.
Next, update the cluster or individual hosts using “Remediate“.
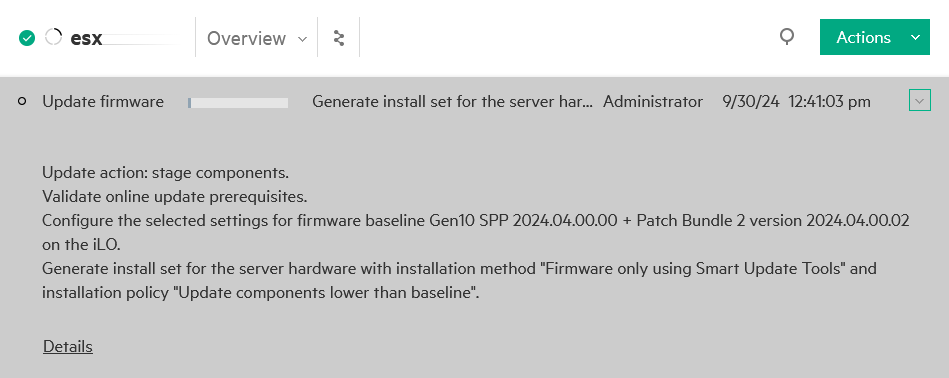
If you check the host in HPE OneView at the same time, you can see the firmware being loaded:
Done!