Reading Time 3 Minutes
With the release of vSphere 8U3, vSphere with Tanzu was not only renamed (multiple times) but also a step was taken to “decouple” TKGs from the vCenter version.
Until then, TKGs and vSphere with Tanzu were considered a single entity and thus synonymous with each other.
One disadvantage of this was that the available Kubernetes versions for the Tanzu Kubernetes clusters (i.e., the “child” clusters of the Supervisor Cluster) depended on the version of the vCenter Server.
If you wanted to use a current k8s release, the first step was inevitably to update the vCenter.
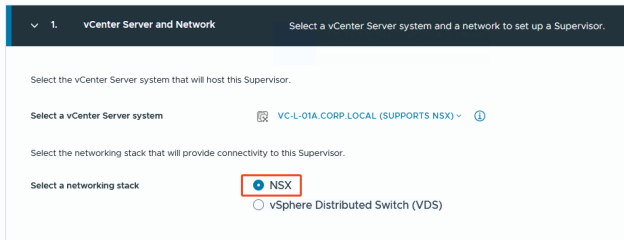
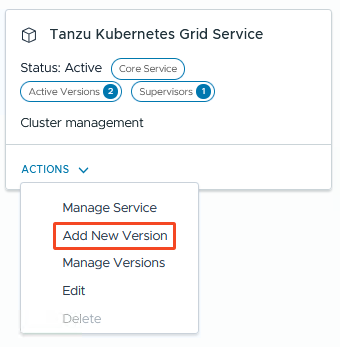
Since vSphere 8U3, in addition to the IaaS Control Plane vSphere Kubernetes Service, which provides the Supervisor, there is now also a TKGs Service responsible for the Tanzu Kubernetes Clusters (TKC). Since this can be updated independently, it allows quicker and easier access to current k8s releases 🥳🥳🥳
In the following, I’ll briefly show how to update this crazy thing .
Continue reading →