
Since I was dealing with VMware NSX Advanced Load Balancer (or NSX ALB aka AVI Loadbalancer, take your pick!) in connection with vSphere with Tanzu in our ITQ Lab environment, I also wanted to make it trustworthy with an “official” certificate and replace the “Self Signed Certificate”.
In the Lab environment, a Windows Certificate Authority (CA) and the CA Web Enrollment already exist on a Windows 2019 VM. I will not go into detail about the installation of the CA; here I followed an article on the VirtuallyThere Blog.
In addition, I have created a Certificate Template according to VMware specifications. In the future, I would like to use this for all VMware product deployments in the lab. I have written another blog article about this (Creating a Microsoft CA Template for vSphere 6.x/7.x), or if you want to read it directly from VMware, here is the KB article: Creating a Microsoft Certificate Authority Template for SSL certificate creation in vSphere 6.x/7.x
Certificate Signing Request
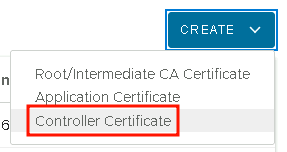
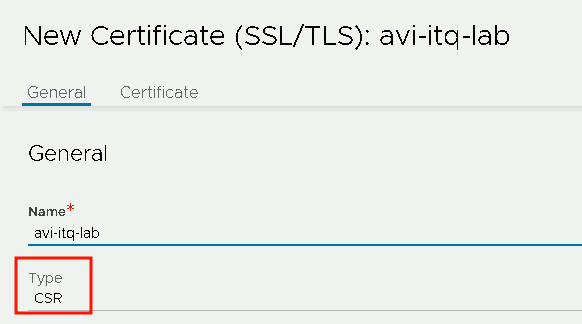
First, a certificate signing request must be created on the AVI controller. To do this, go to Templates >> Security >> SSL/TLS Certificates, select Create >> Controller Certificate and create a new certificate of the type “CSR“.
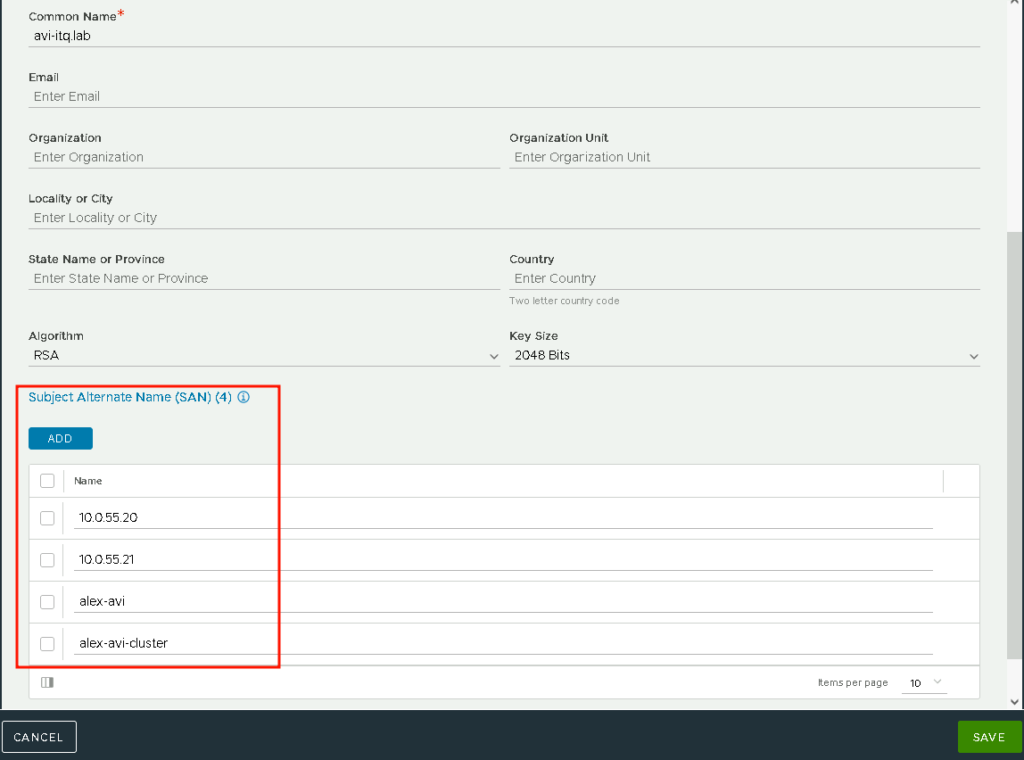
When creating the request, make sure that all access addresses are included in the Subject Alternate Names (SANs). In my first attempt, I forgot the cluster IP and had to confirm the browser’s security query for this one address; the rest were excluded meaning they worked fine. Unfortunately, you then have to go through the CSR process again.
Quick hint:
How do I come up with 4 entries for the SANs?
- one Node IP
- a corresponding DNS entry
- one Cluster IP (for future use, should I ever want to use more than one node)
- a corresponding DNS entry for the Cluster IP

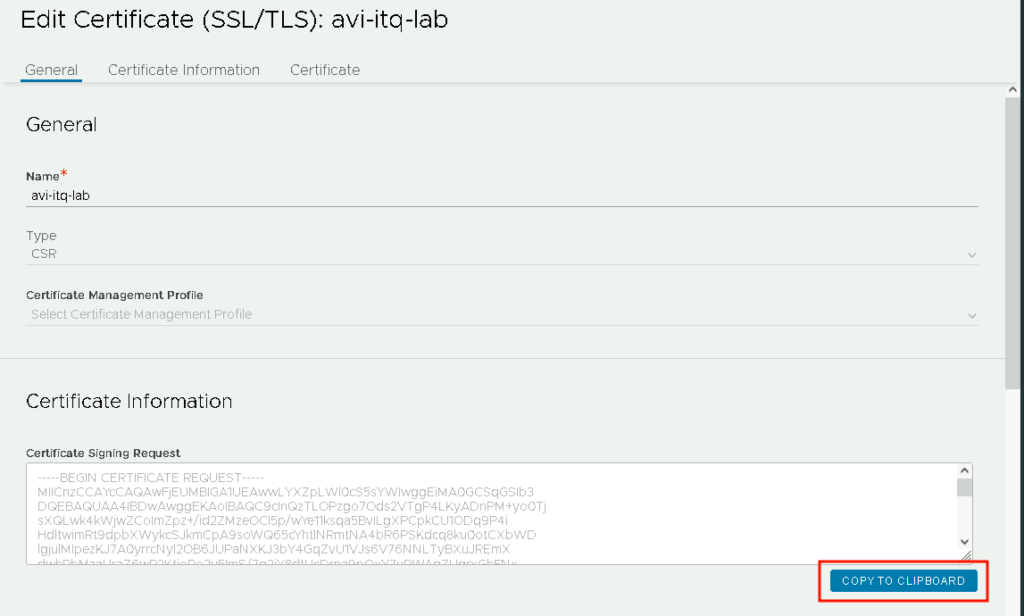
After creating the CSR, it looks like this in AVI:

Right click on the pencil and copy the CSR to the clipboard:
Creating the certificate
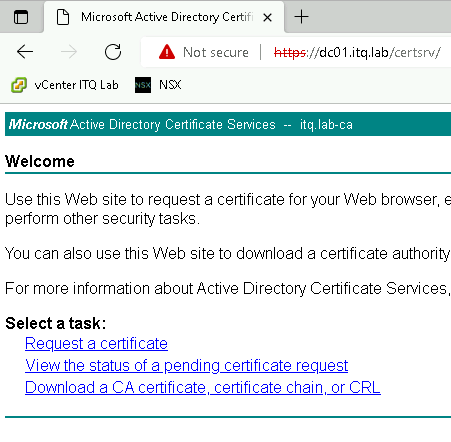
Continue in the web interface of the Windows CA (accessible via https://)
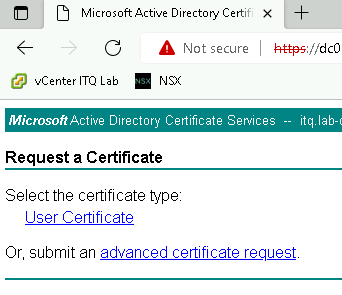
Here, navigate via Request a certificate >> advanced certificate request and paste the previously copied CSR.
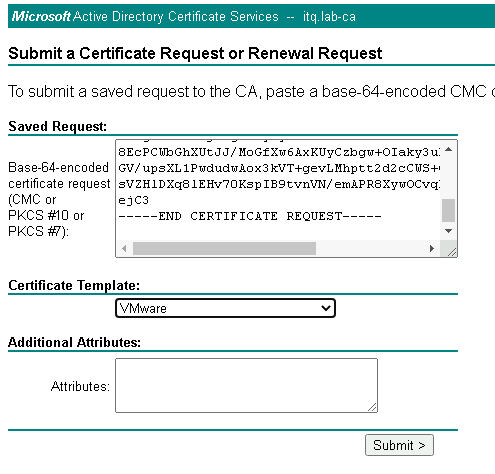
In addition, I use my self-created Certificate Template “VMware” here.
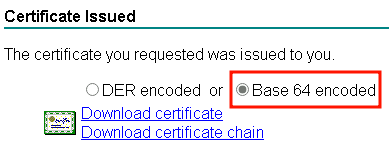
The certificate can then be downloaded in Base 64 format:
Using the Certificate in NSX ALB / AVI
Back in the AVI web interface, import the certificates file:
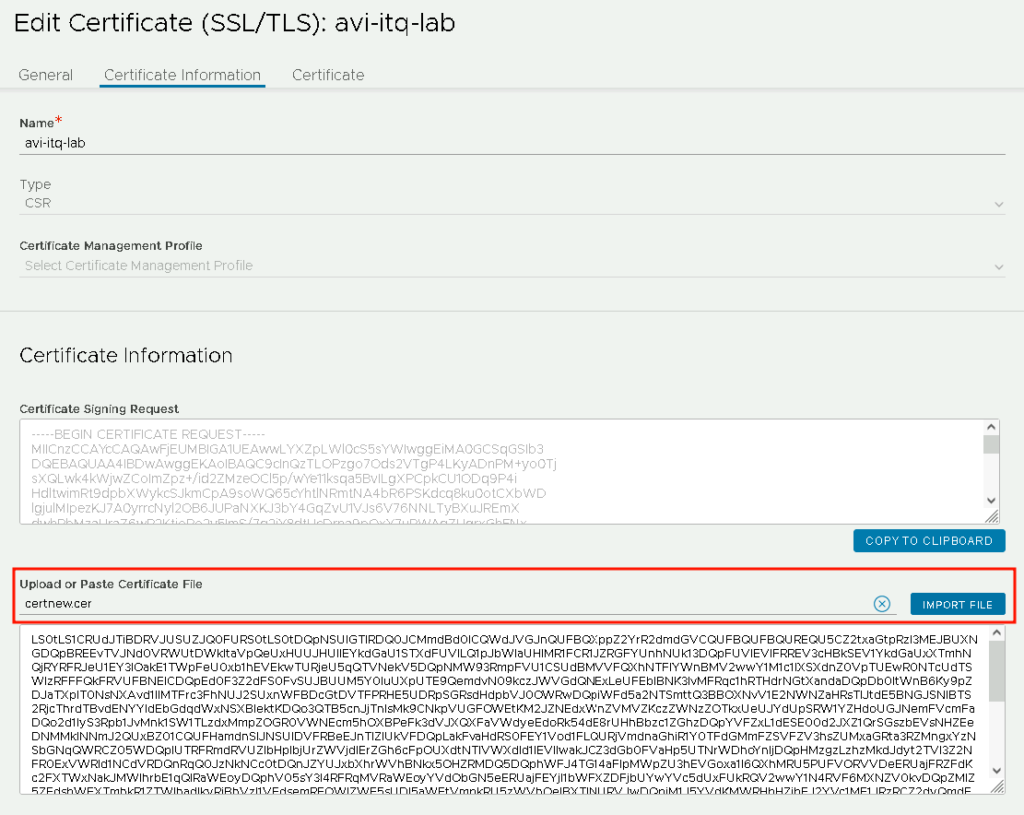
Et viola, the status of the certificate is Green and it is obviously not Self Signed:

Change NSX ALB / AVI to the new certificate
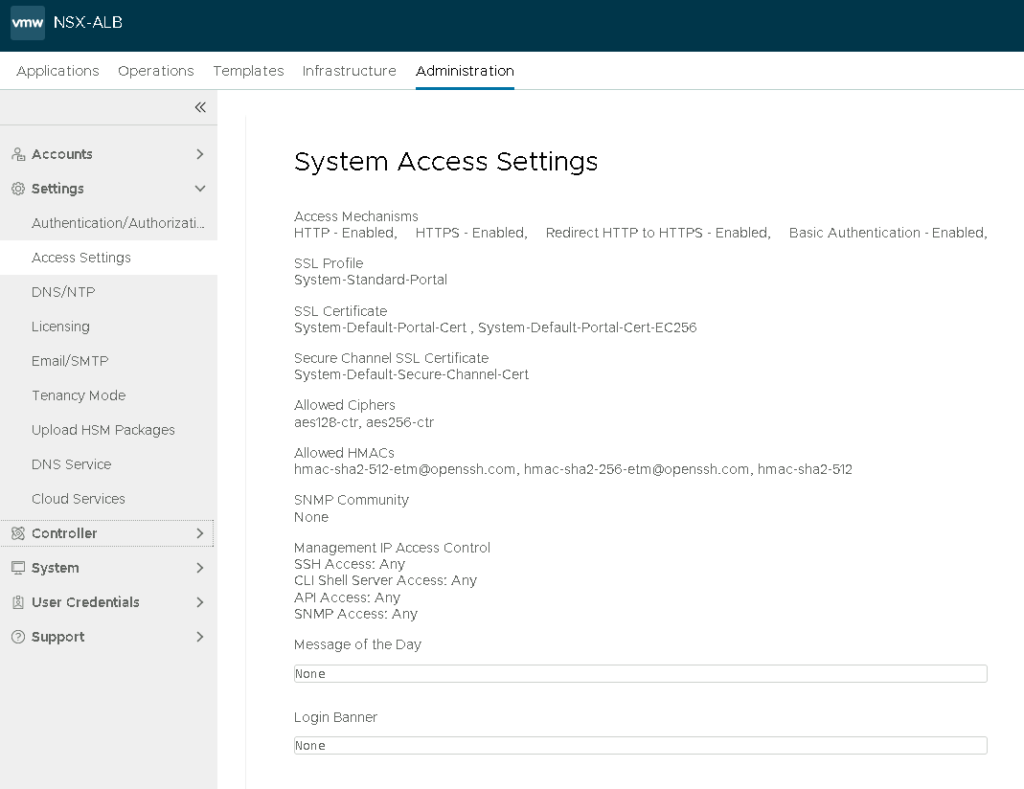
Now edit the System Access Settings (Administration >> Settings >> Access Settings) and we are done 🙂
Remove both default certificates…
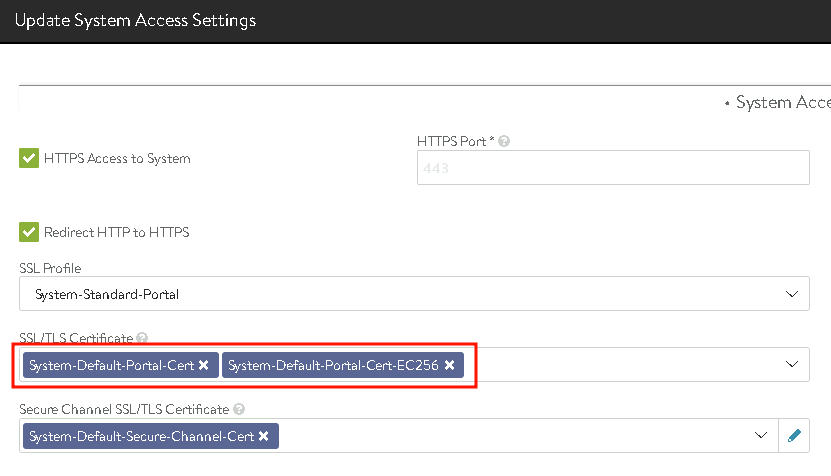
…and add the new, own certificate granted by the Windows CA:

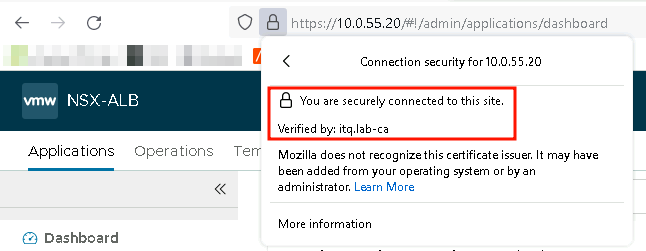
A check of the four addresses in the web browser (IP and DNS) is successful:
A small hint regarding Firefox:
Since we do not use any group policies in our lab that include Firefox, a setting is still necessary so that Firefox relies on the Windows CA (copy/paste from the Mozilla Webseite):
- Enter “about:config” in the address bar and continue to the list of preferences.
- Set the preference “security.enterprise_roots.enabled” to true.
- Restart Firefox.