
Everyone has been talking about vSphere+ for a few weeks now, so I wanted to get a (technical) impression of what’s behind all the marketing-heavy blog articles and announcements.
A short diagram in advance so that it is clear what we are dealing with:

In a classic vSphere environment, there are one to many vCenters that need to be managed. With vSphere+, a vCenter Cloud Gateway is introduced which acts as a relay between the VMware Cloud and the on-premises vCenters. This allows services from the VMware Cloud to be used with the on-premises datacenter. Sounds pretty easy!
Fortunately, VMware offers a 15-day trial in the VMware Cloud. Yeah, let’s roll! 🚀
Logged on to https://vmc.vmware.com/ with my Customerconnect Portal login details and started the vSphere+ trial:
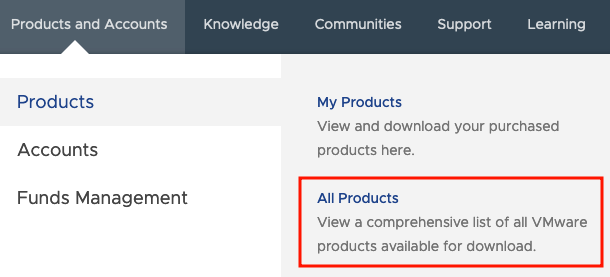
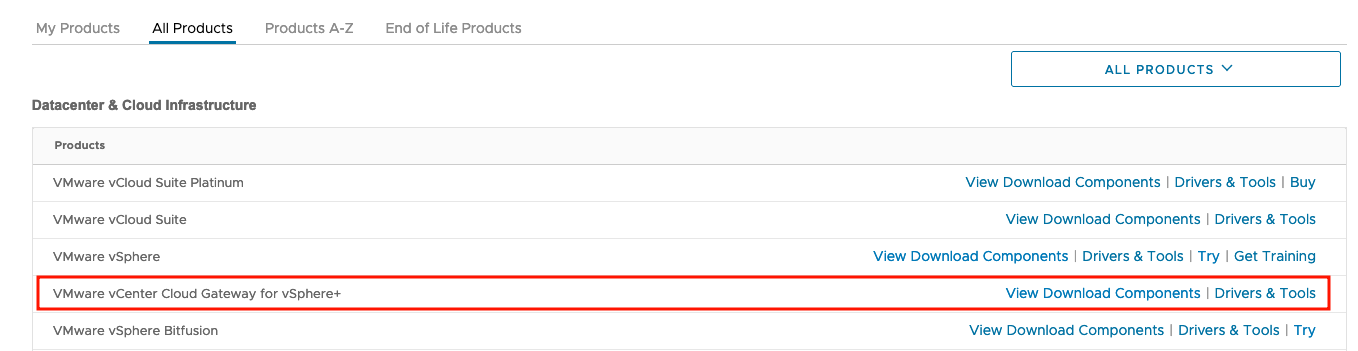
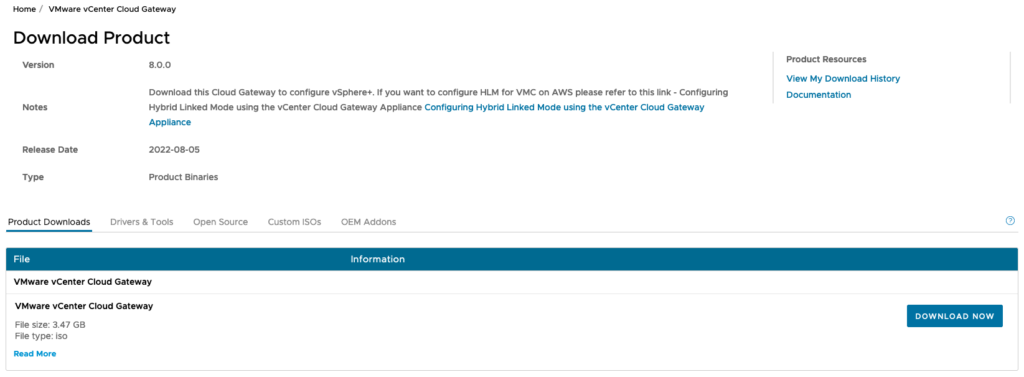
Moving on to VMware’s Customer Connect Portal, here you can download the “VMware vCenter Cloud Gateway for vSphere+”.
Logged in under Products and Accounts >> Products >> All Products it can be quickly found:
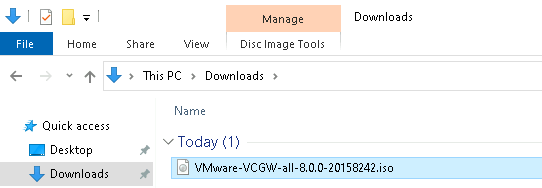
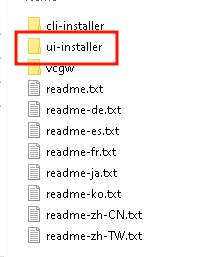
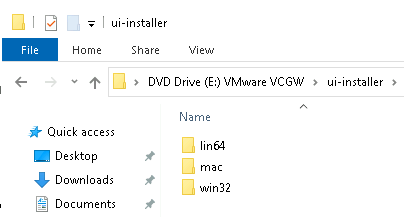
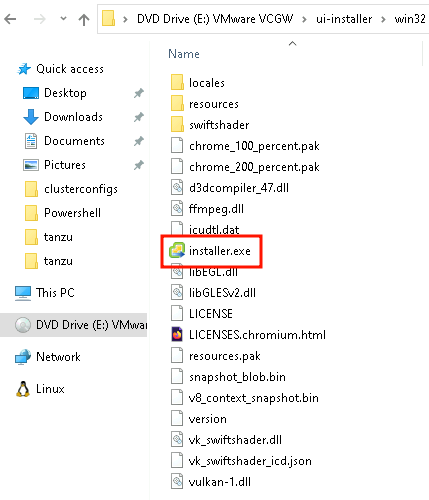
After the download, I open the ISO file on my client computer, in my case Windows, the image is mounted in a “virtual drive”. I navigate through ui-installer >> win32 and start the installer.exe.
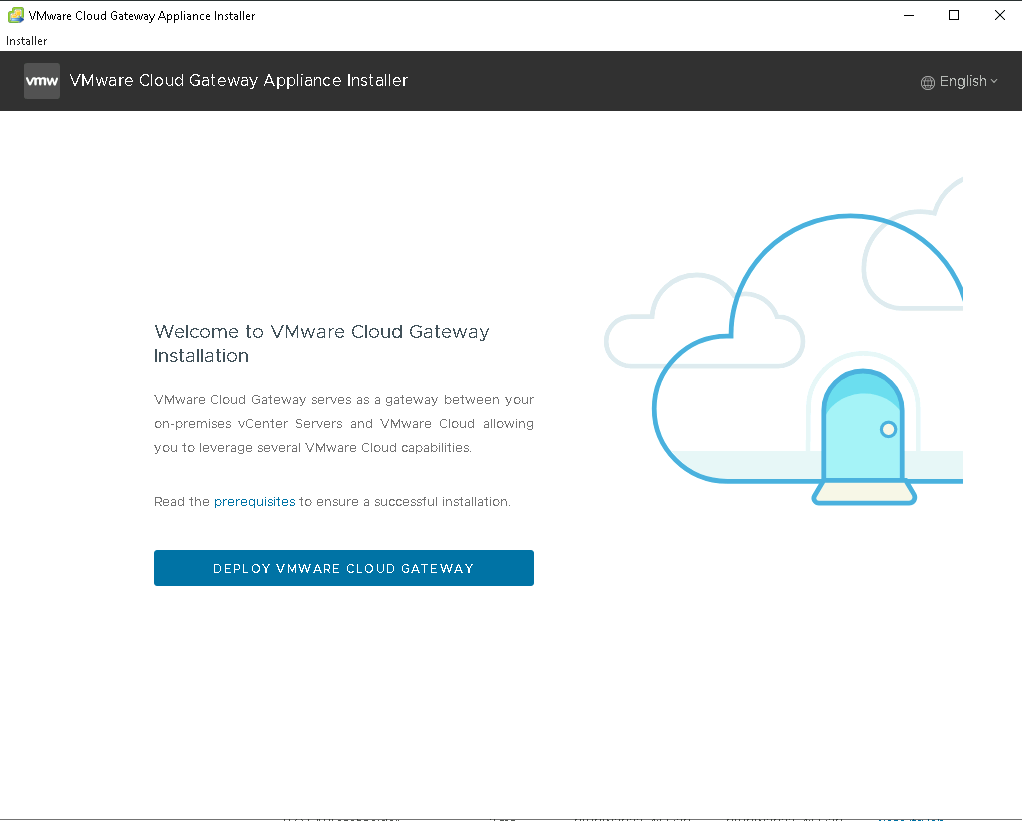
The graphical installer window opens.
The Cloud Gateway Appliance Installer
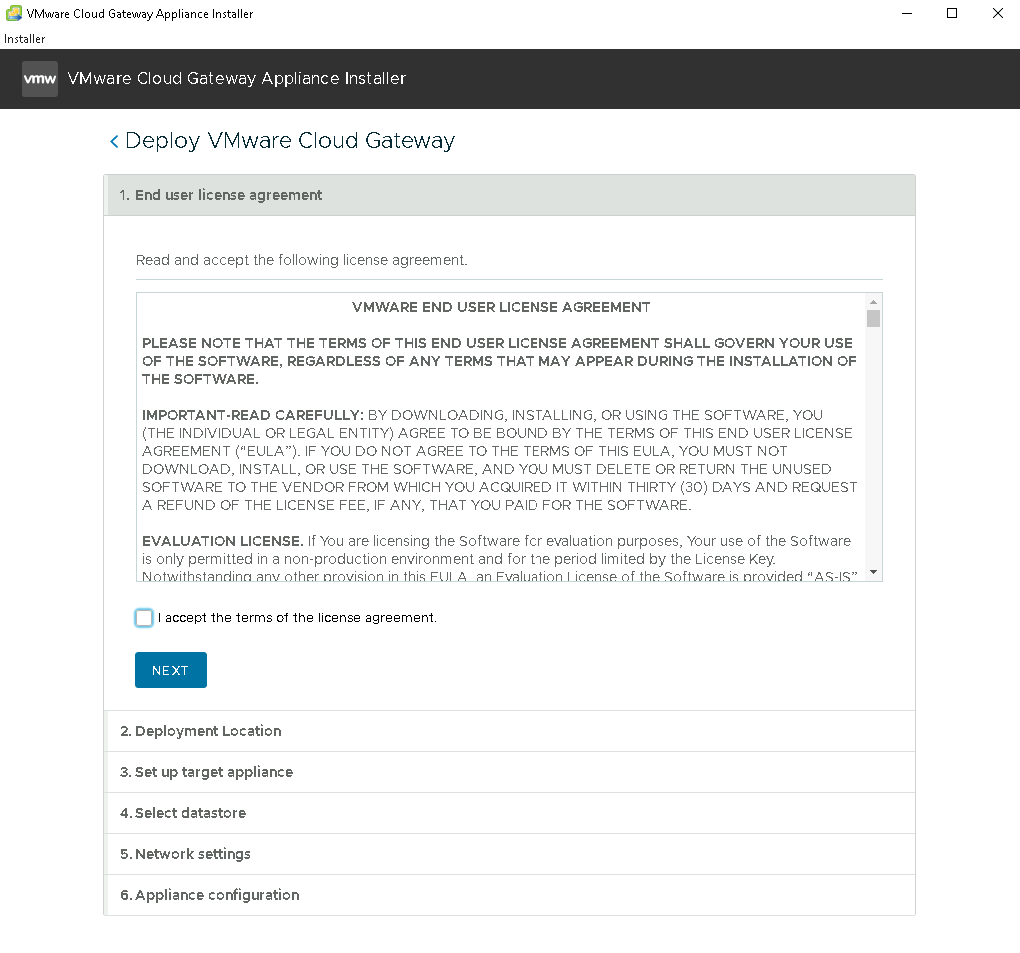
Up to this point, the installation of the appliance was similar to the installation of a vCenter. The following steps are graphically different, but there is not much to consider here, so here is a brief screenshot shower:
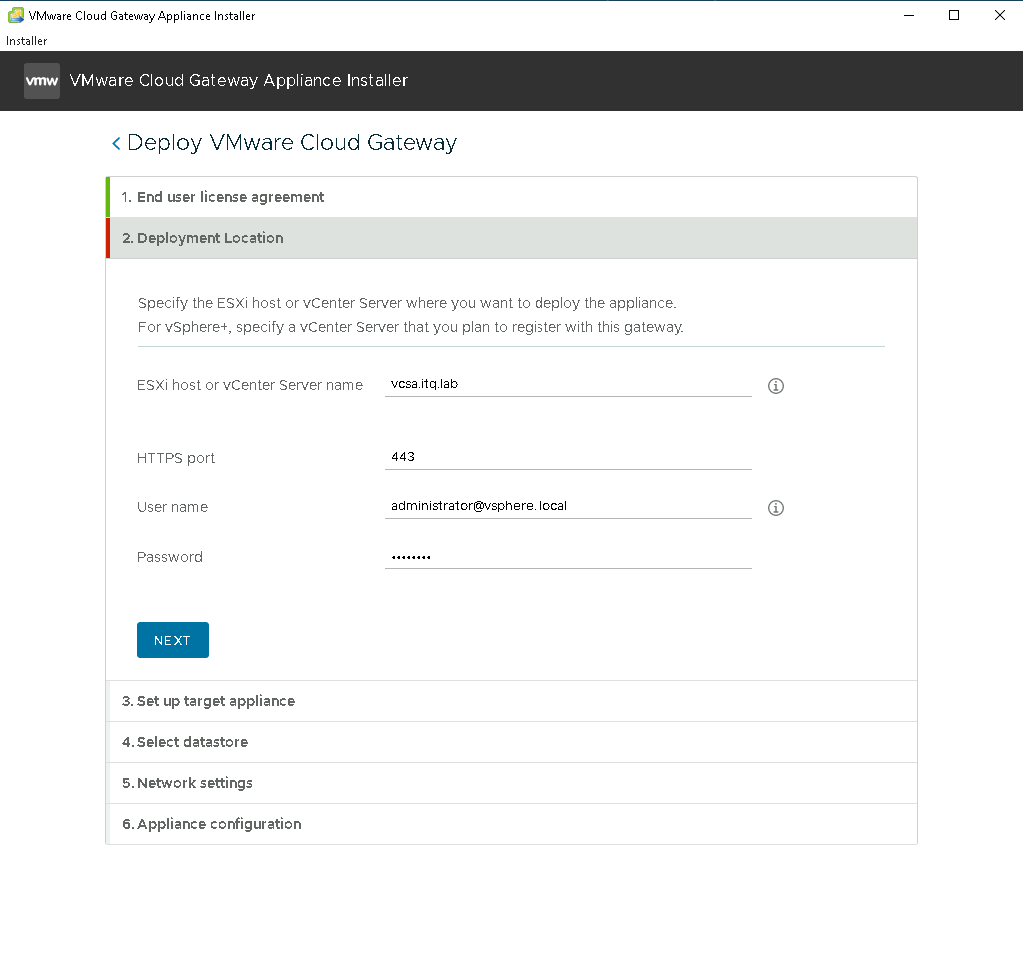
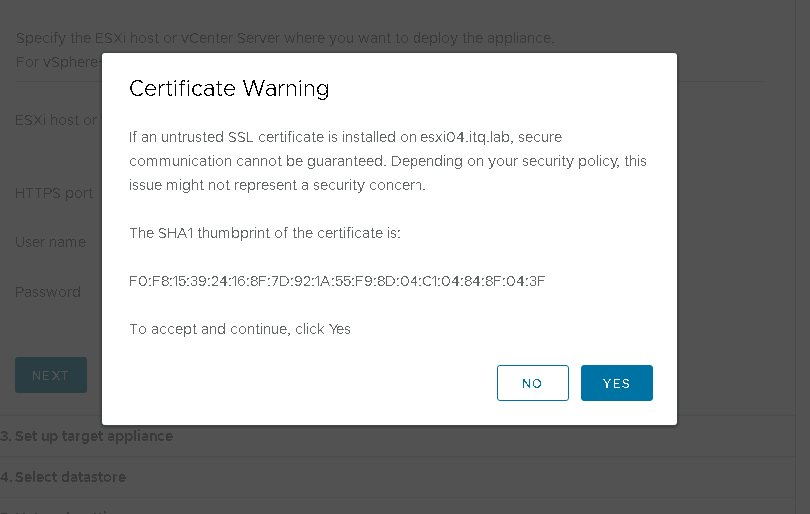
Select a vCenter (or ESXi host) as the installation target for the appliance and provide credentials:
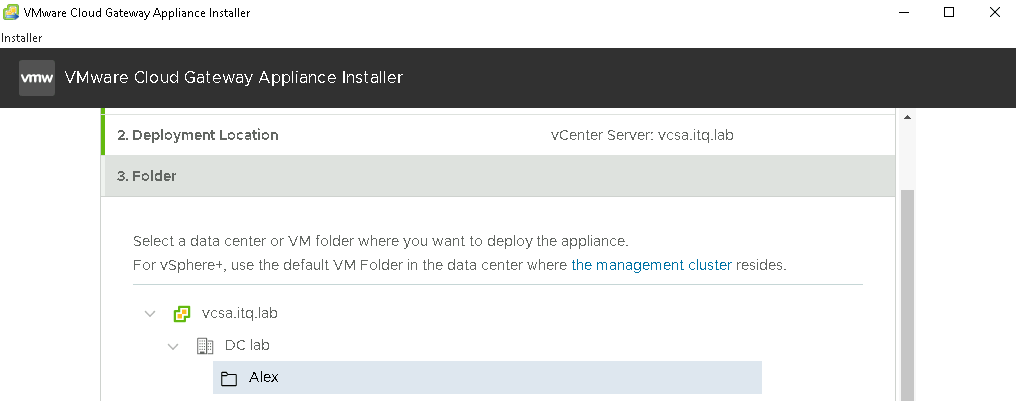
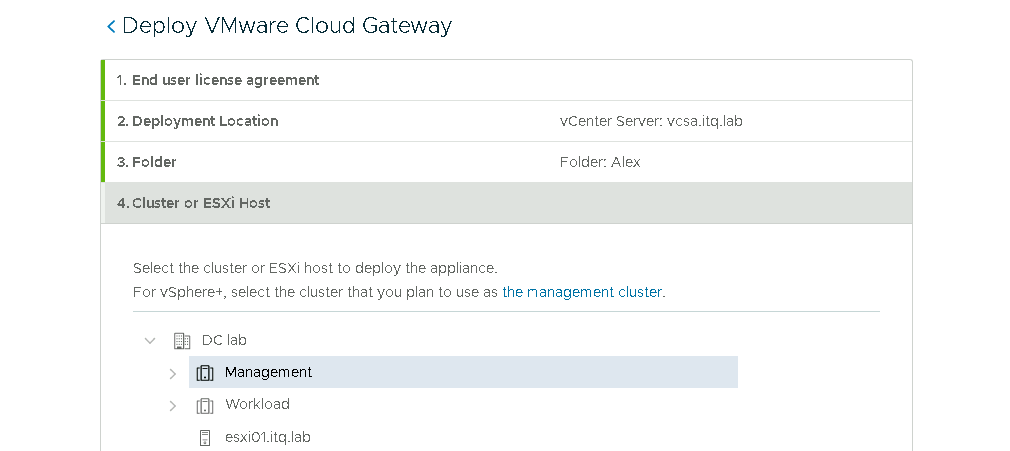
Select folder and cluster for installation:
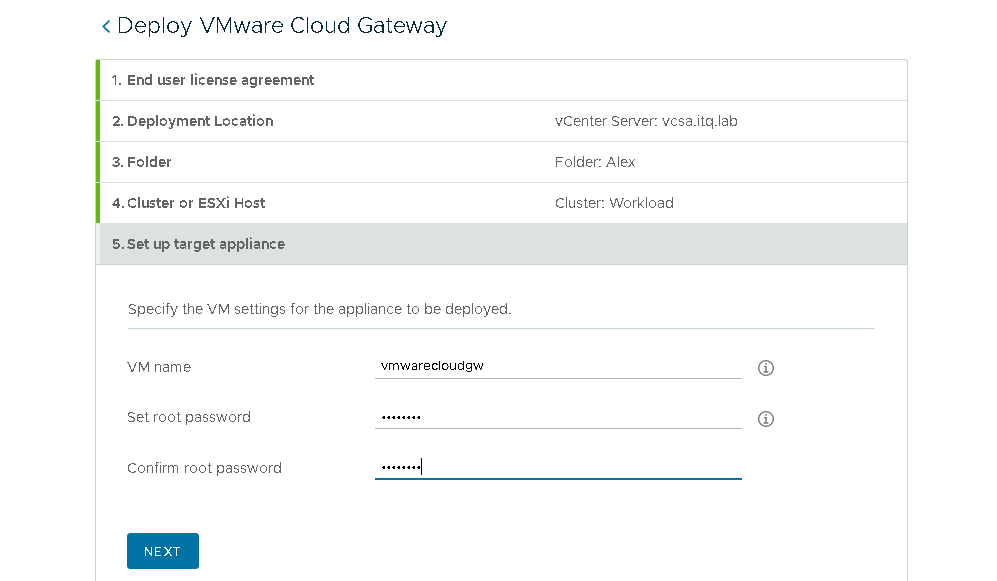
Define VM Name incl. root password:
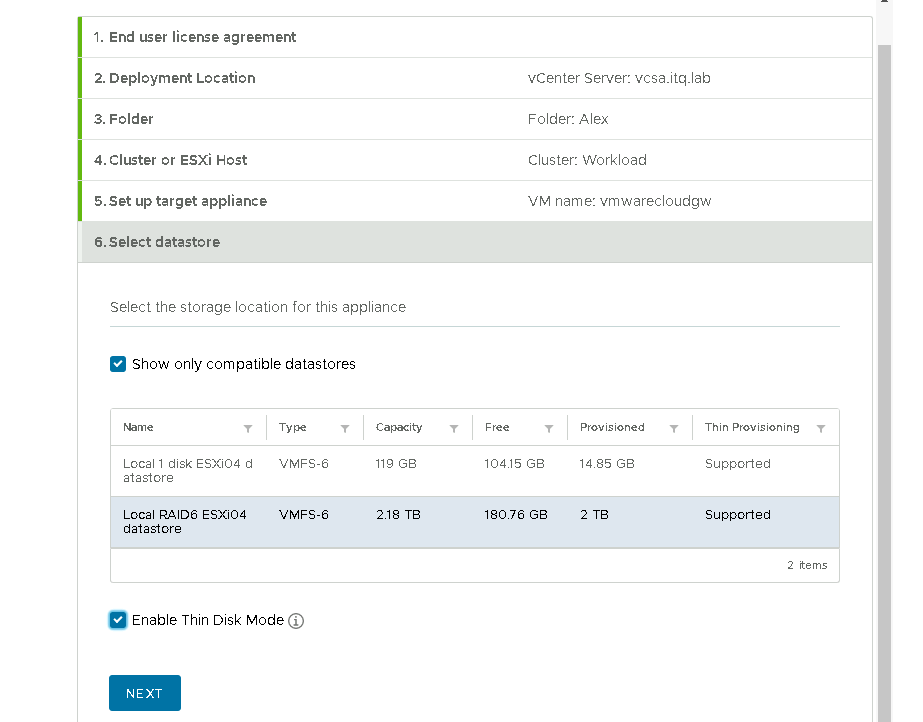
Select Datastore and Disk Mode:
Then the network settings…
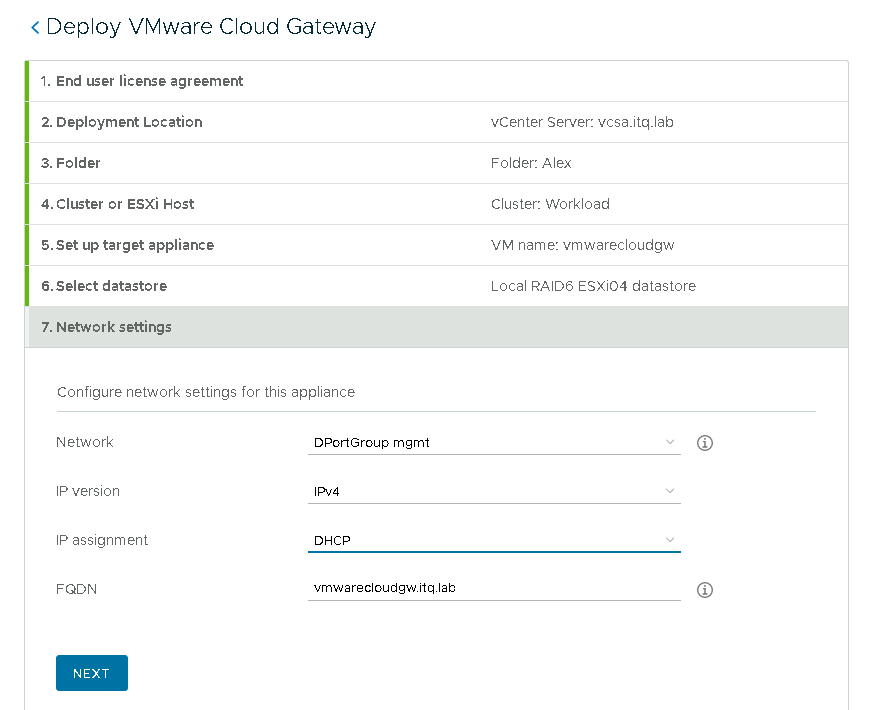
…here I wanted to make it easy for myself and selected an NSX-T segment with a local DHCP server. Unfortunately, the pre-checks for the VMware Cloud connection later showed that the DNS resolution of the appliance did not work (somehow this was logical, how should the Microsoft DNS in our lab get a clue about this). Who would have expected forward and reverse DNS checks to take place…? 😎
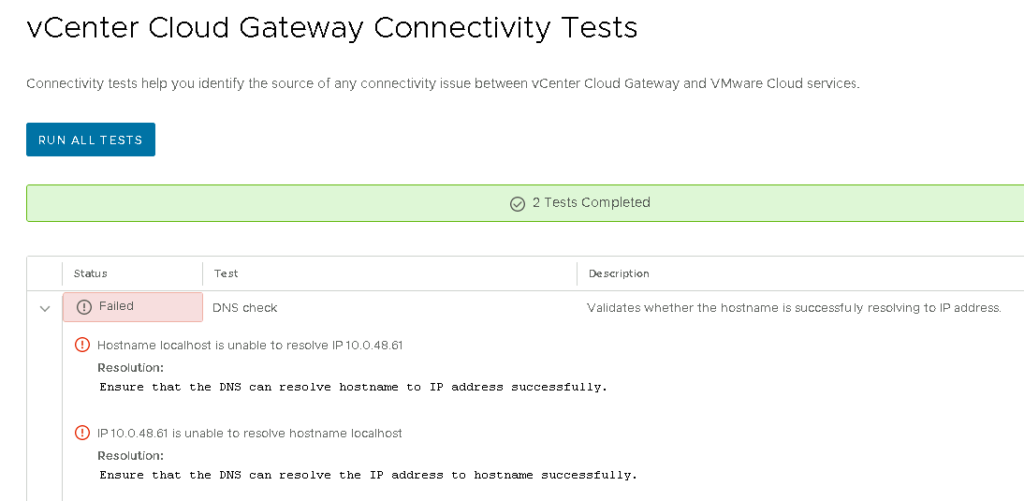
I then wanted to make it easy for myself again so that I would not have to reconfigure the appliance, but even the subsequent manual entry into the DNS server did not lead to the desired result, as the appliance was also working with the host name “localhost”, which cannot be resolved so easily via DNS…
Here’s the error:
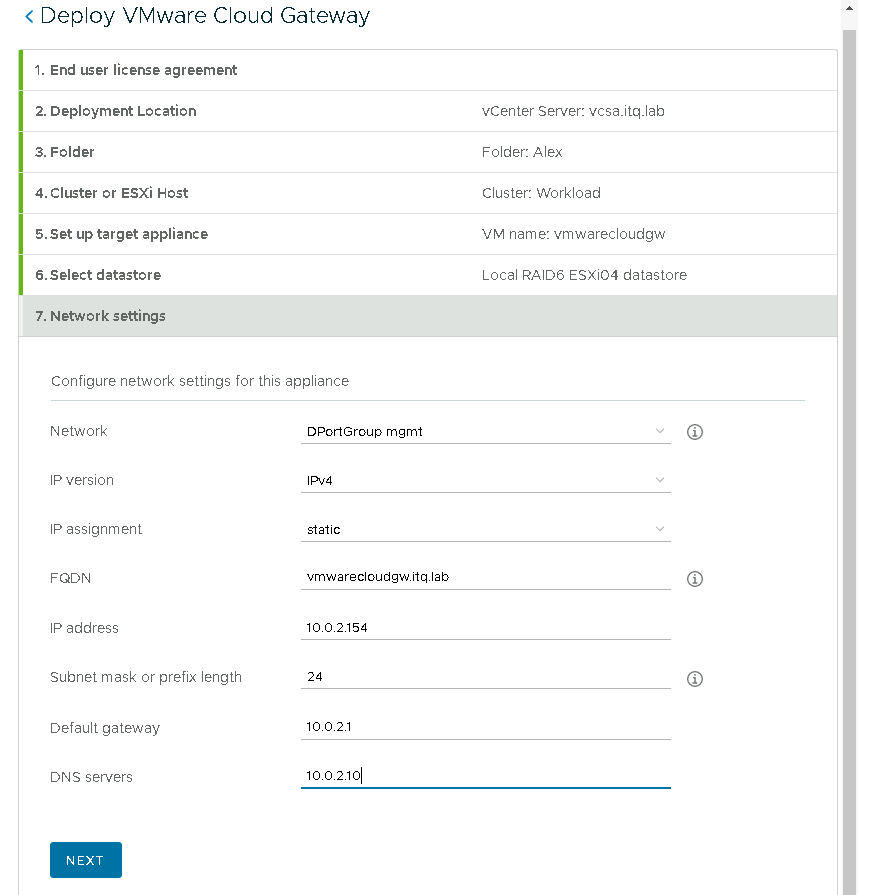
So without further ado, I installed the appliance again, this time with a fixed IP address and previously created DNS entries. This can be done quickly and the installer has also remembered most of the settings! Top! 👍
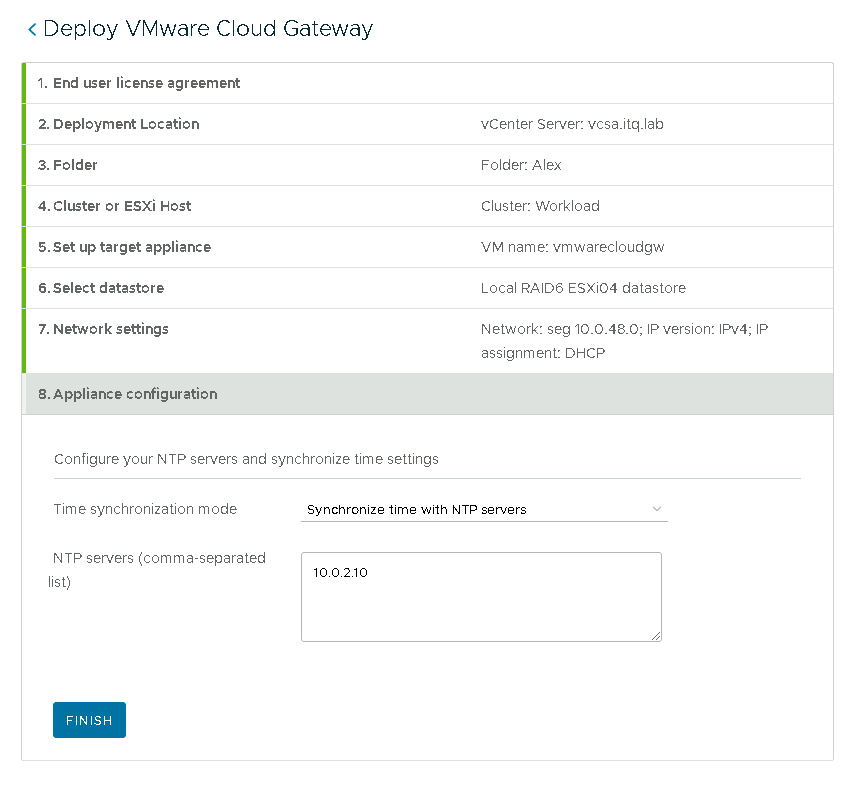
Quickly select the desired time synchronisation method (host or NTP server)…
…and the deplyoment starts…
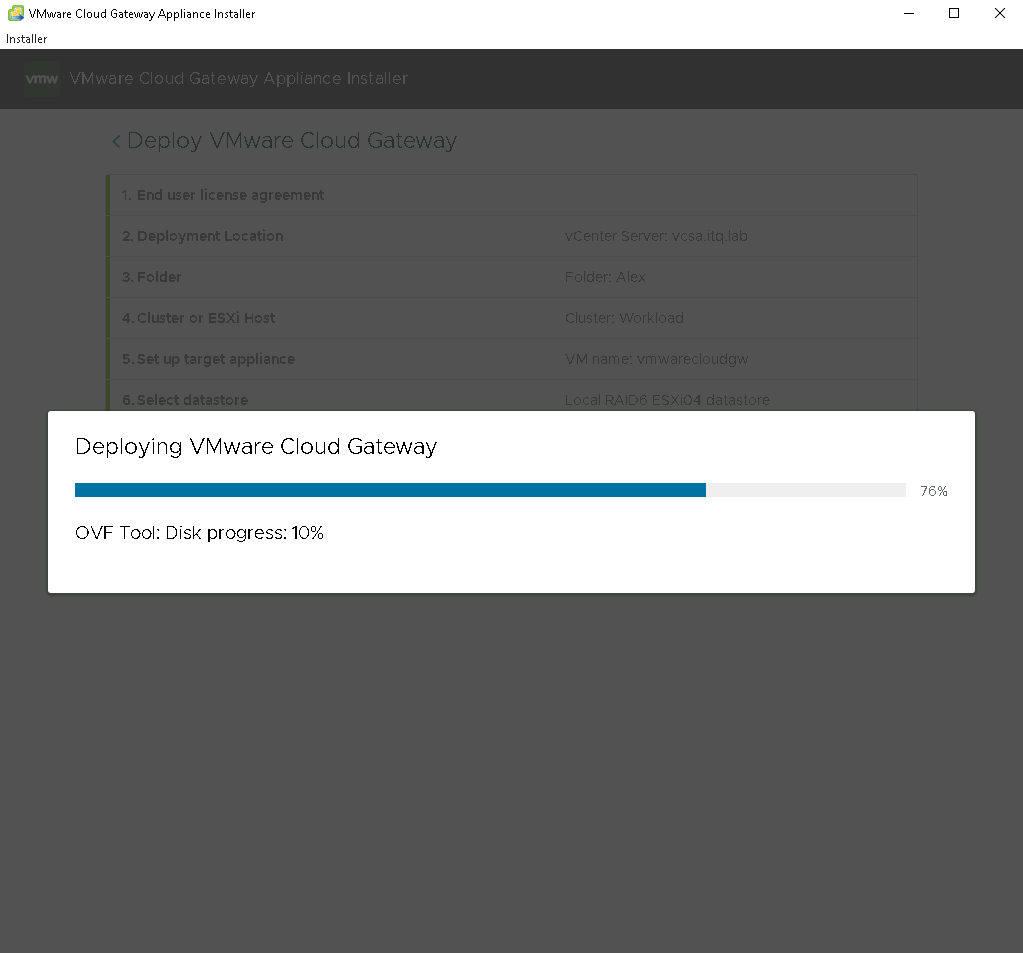
…and is ready after about 8 minutes in our Lab environment:
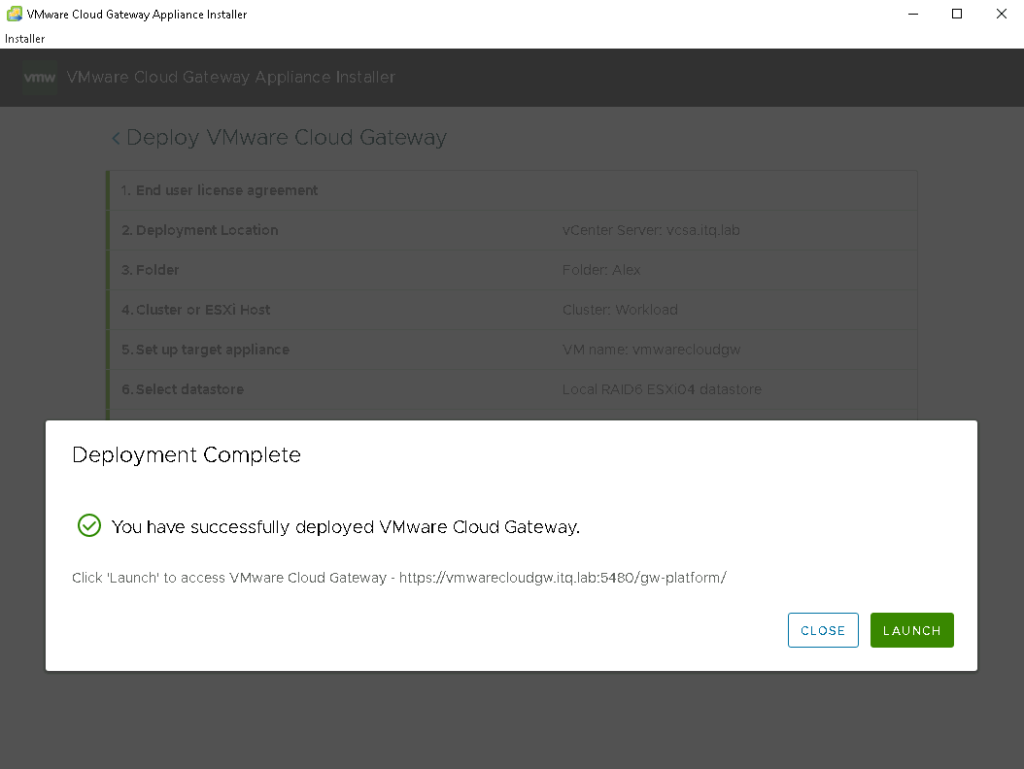
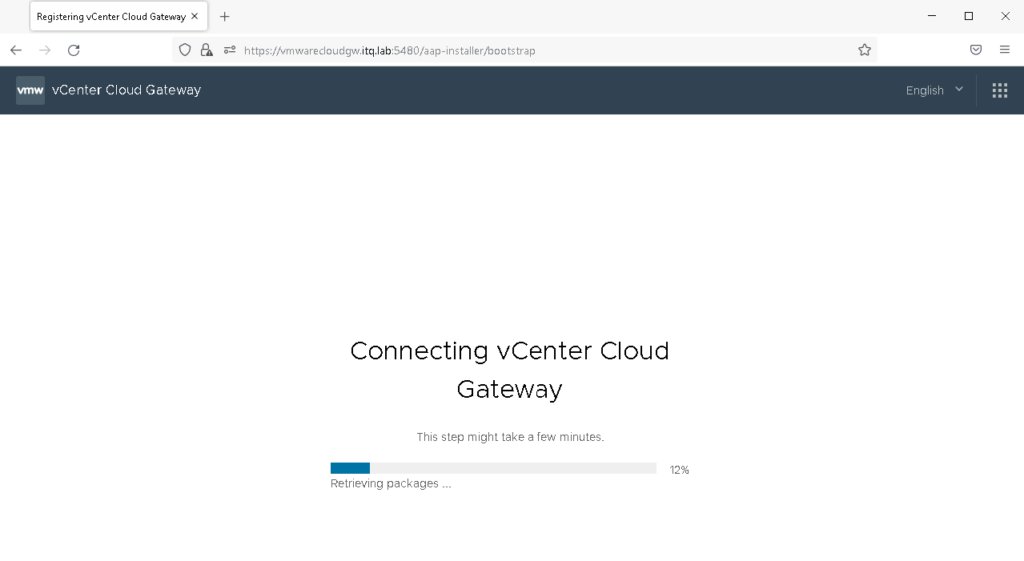
After clicking on Launch, the browser of our choice opens and shows us the web interface of the Cloud Gateway, or can be found manually at https://
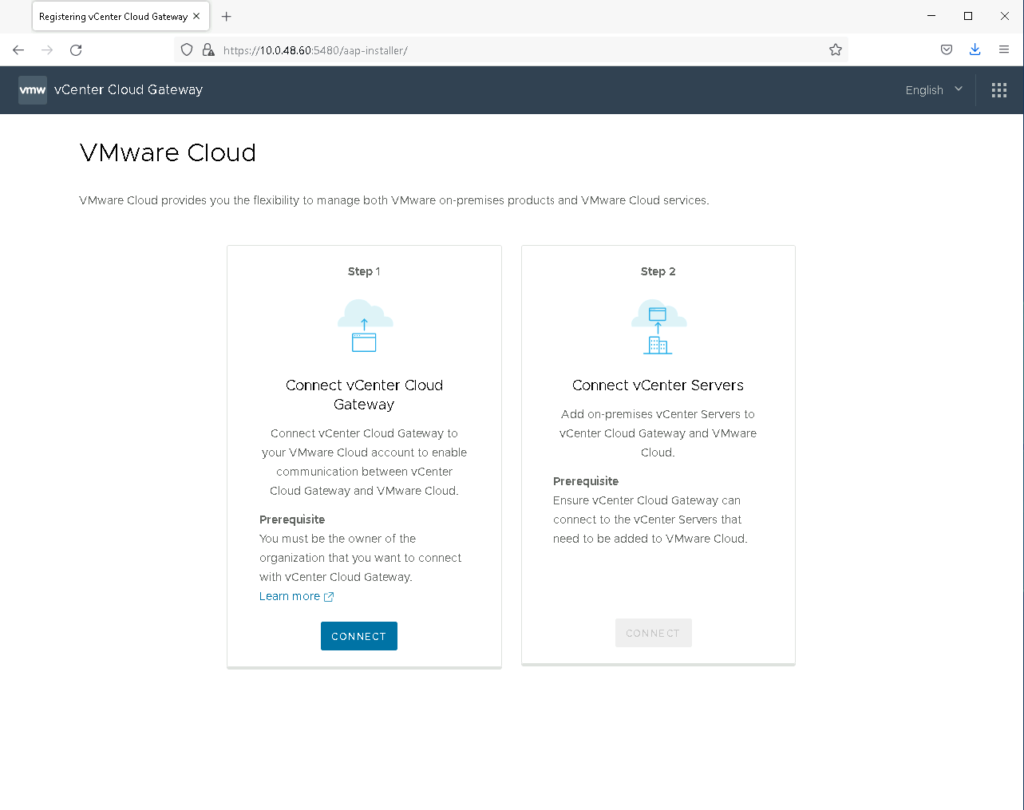
Click on Get Started:

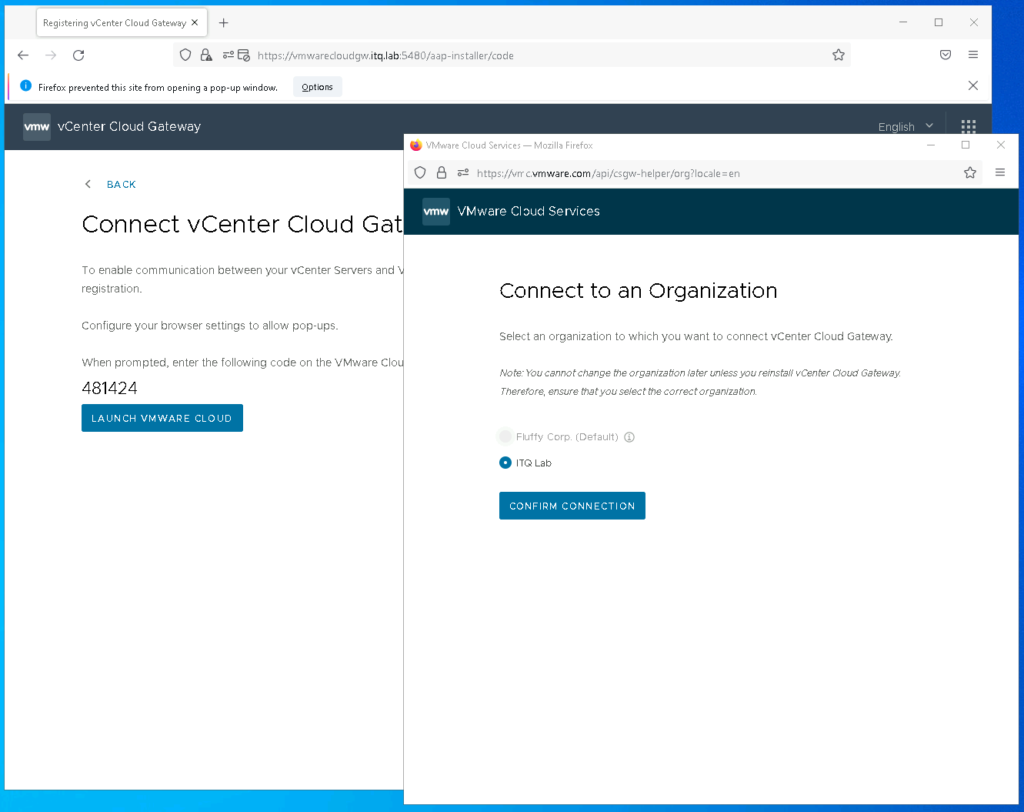
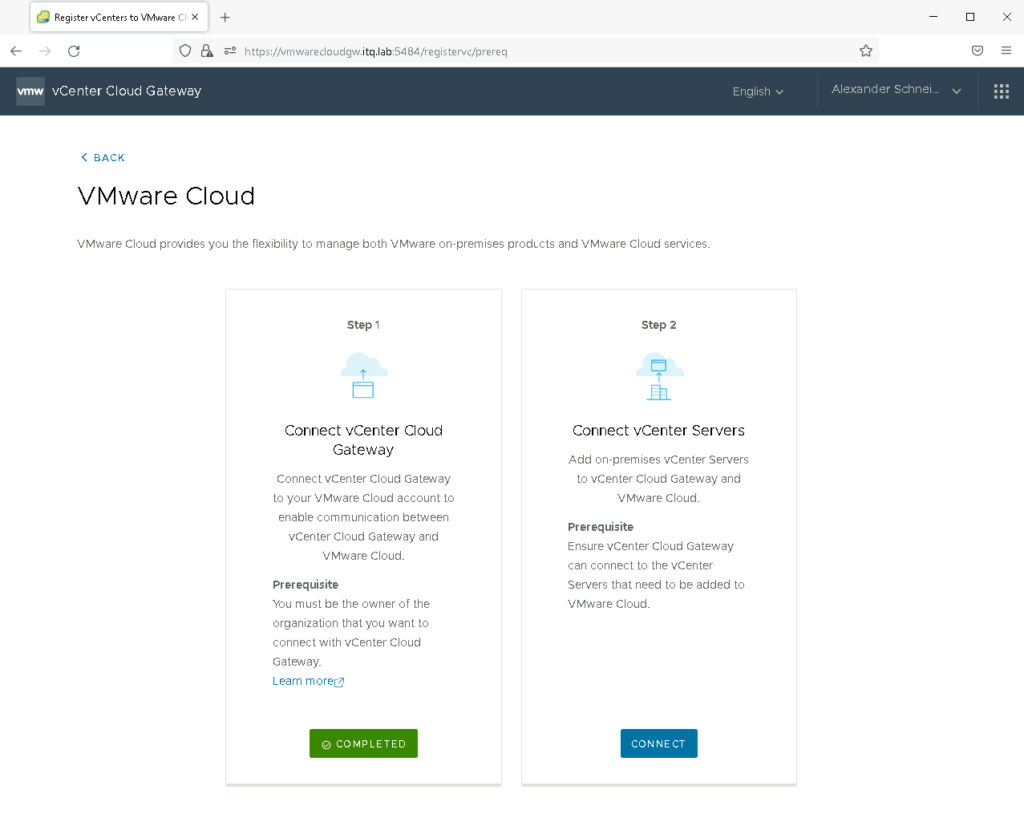
The next step is to establish the connection between Cloud Gateway and VMware Cloud:
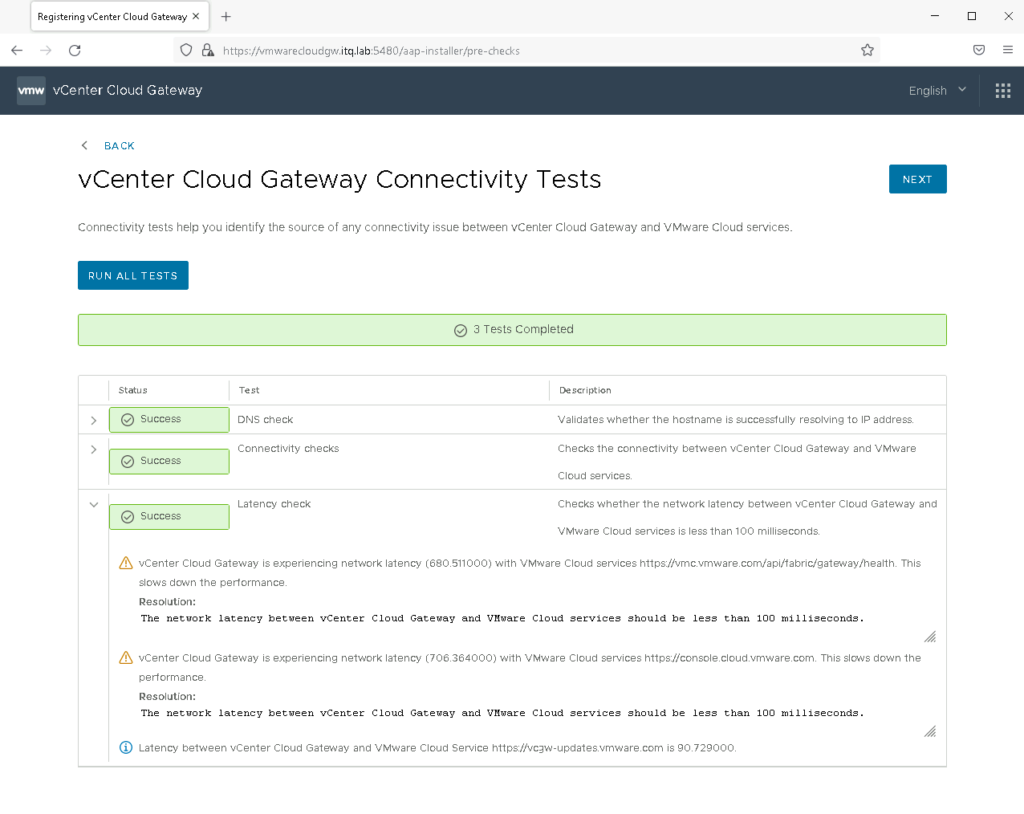
The cloud gateway will now run a few connectivity tests (for those who read closely, this didn’t work before with my first DHCP setup).
The latencies seem relatively high, but I may nevertheless press Next:
The connection between Cloud Gateway and VMC must also be confirmed by a 6-digit code, after which VMware computes very hard…:
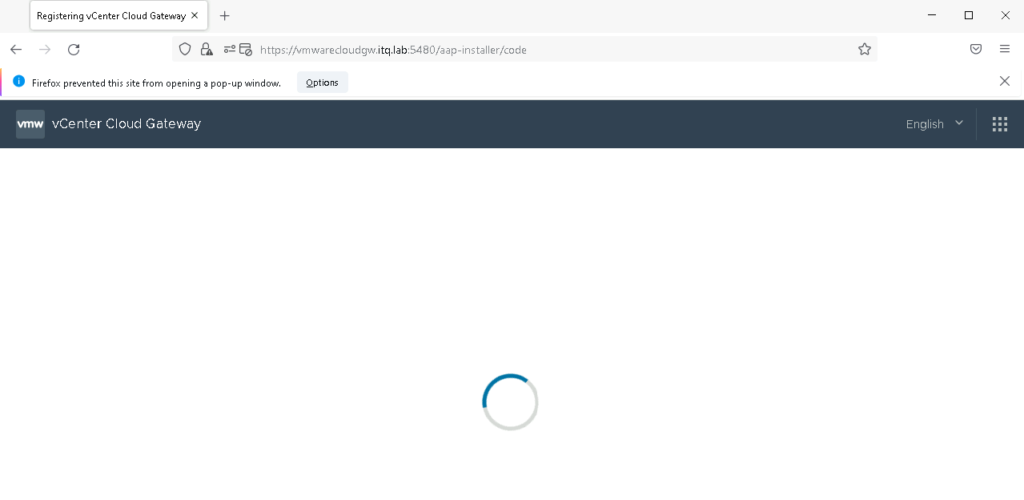
The excitement continues. This step took about 10 minutes:
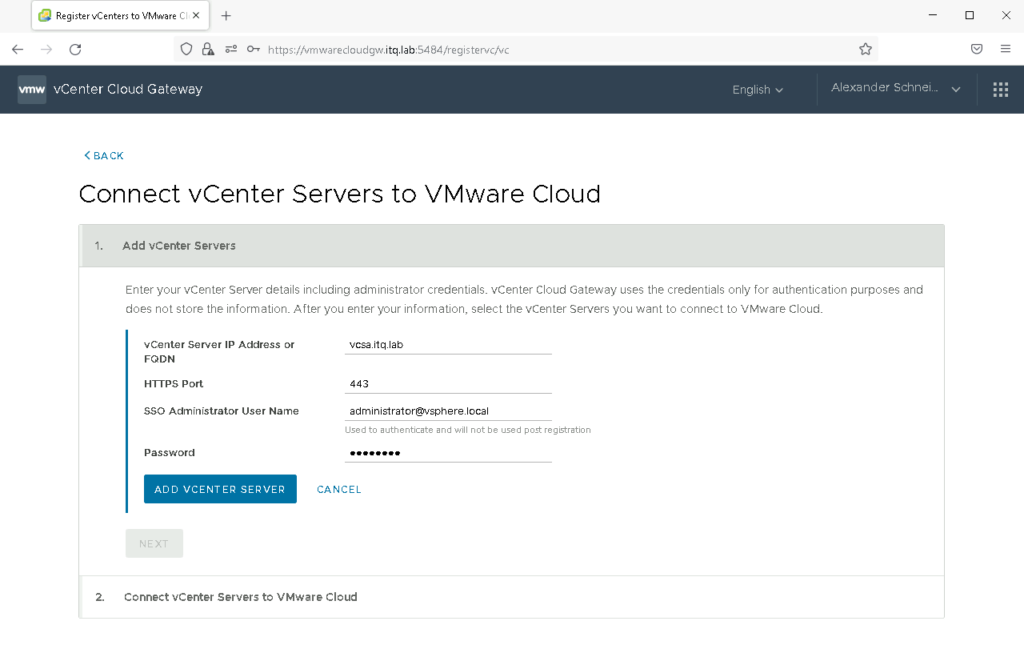
…and was successful afterwards. Cloud Gateway and VMC are connected, now the vCenter(s) that are to be linked to the Cloud Gateway are missing. This will happen in the next steps:
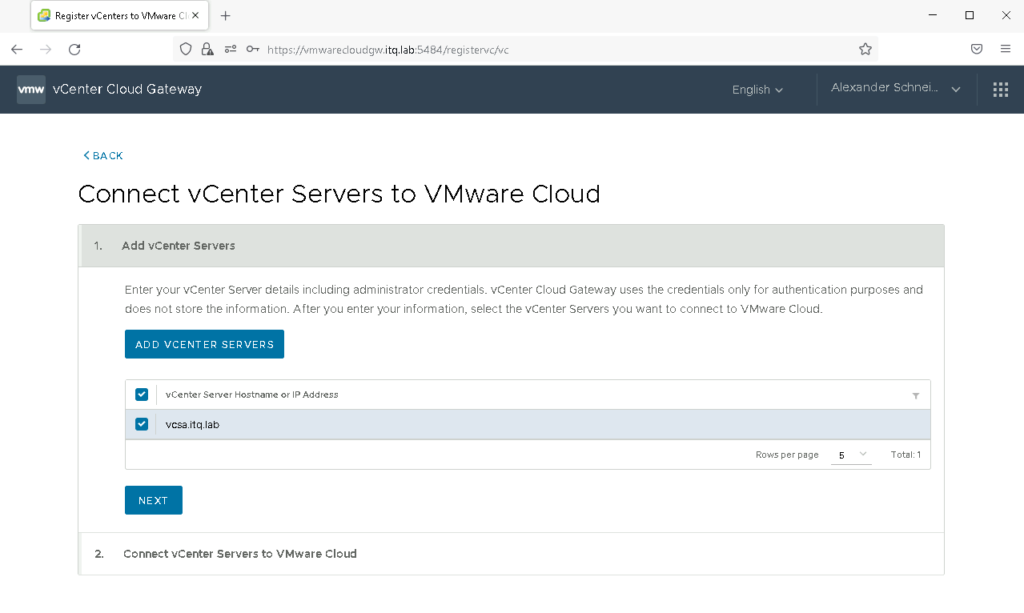
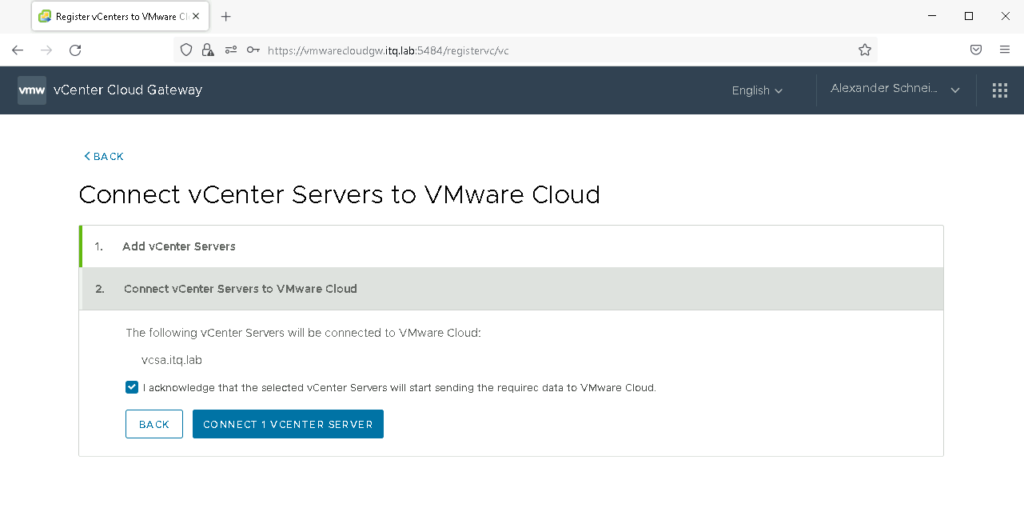
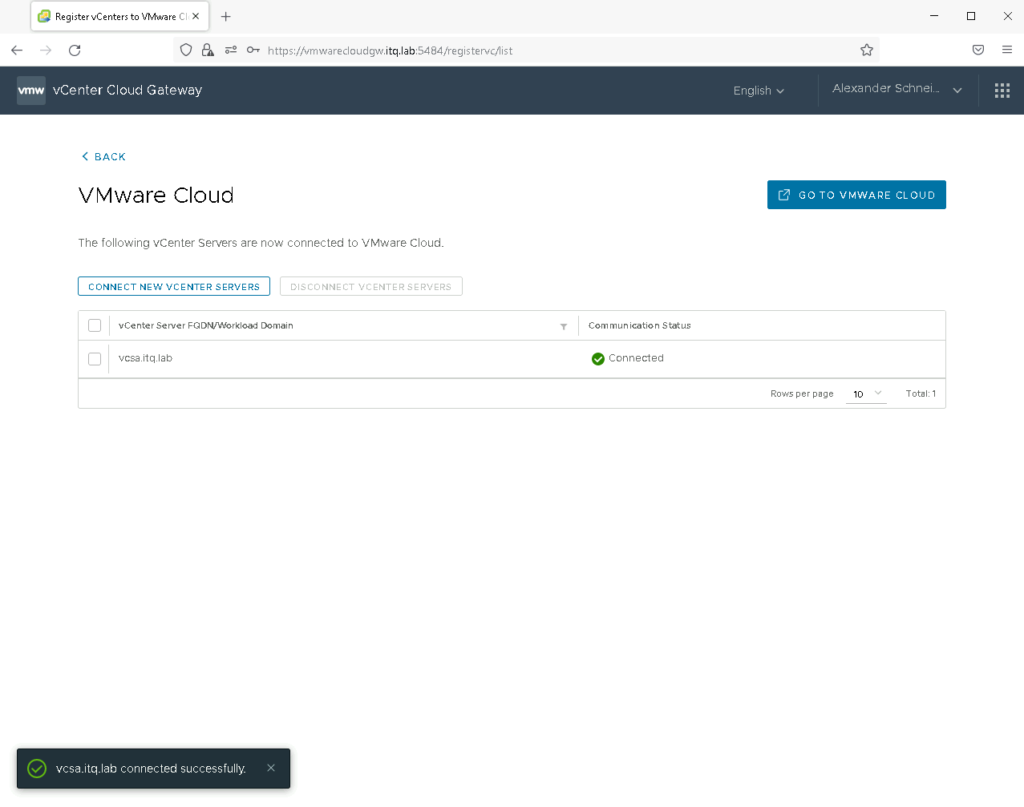
A few seconds later it is shown as Connected:
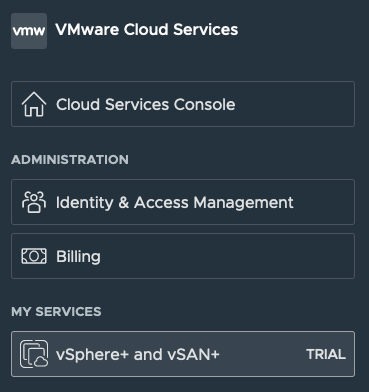
VMware Cloud vSphere+ and vSAN+ Dashboard
Back in my VMware Cloud Dashboard, I see my vSphere+ and vSAN+ tile:
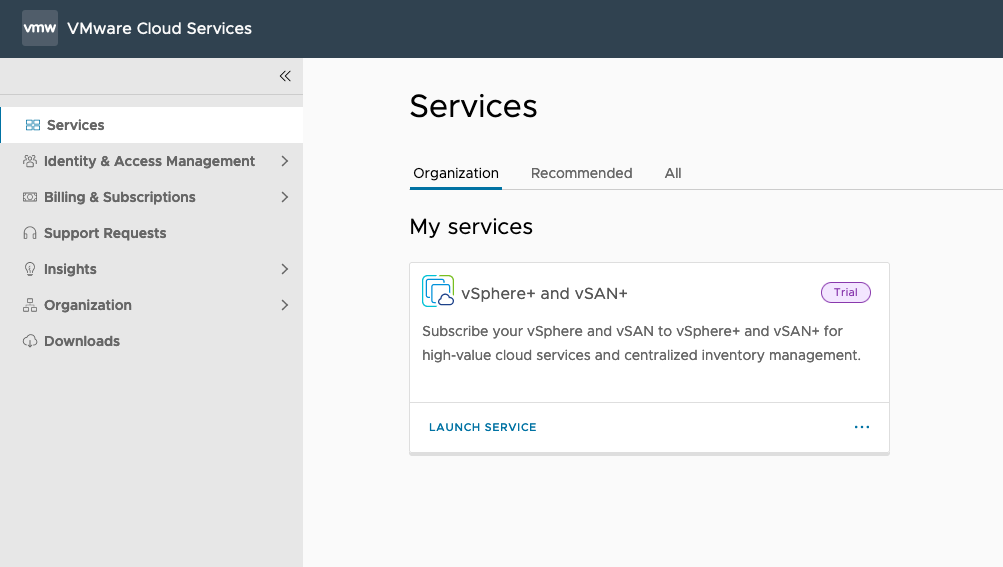
Then let’s “launch” the whole thing and take a look at the new functions.
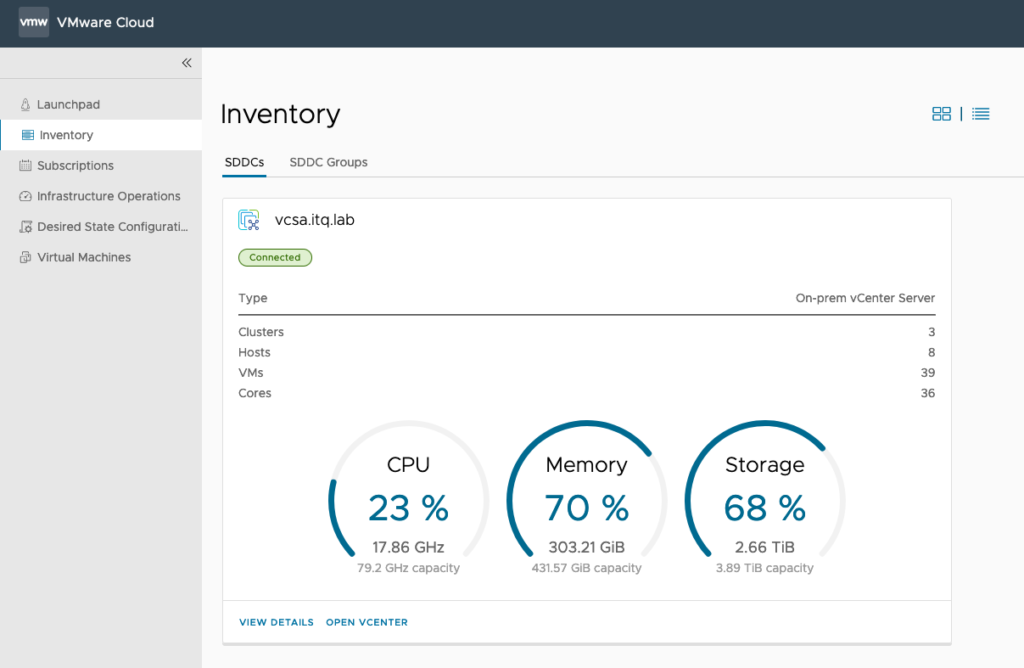
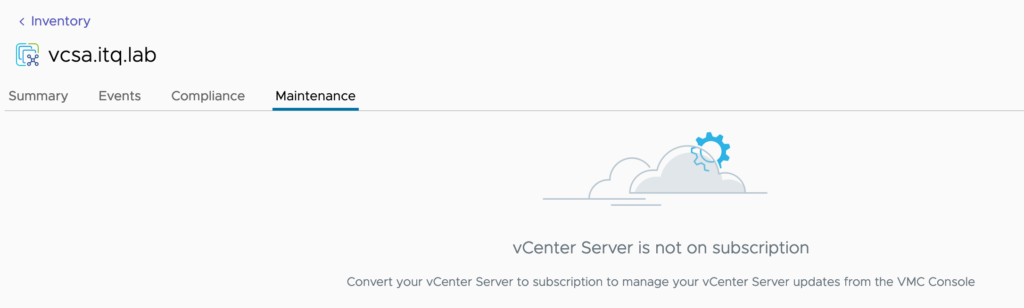
In the Inventory there is a nice overview of my “SDDCs”. There is also a Detail View, and the possibility to update the connected vCenter (assuming a valid subscription):
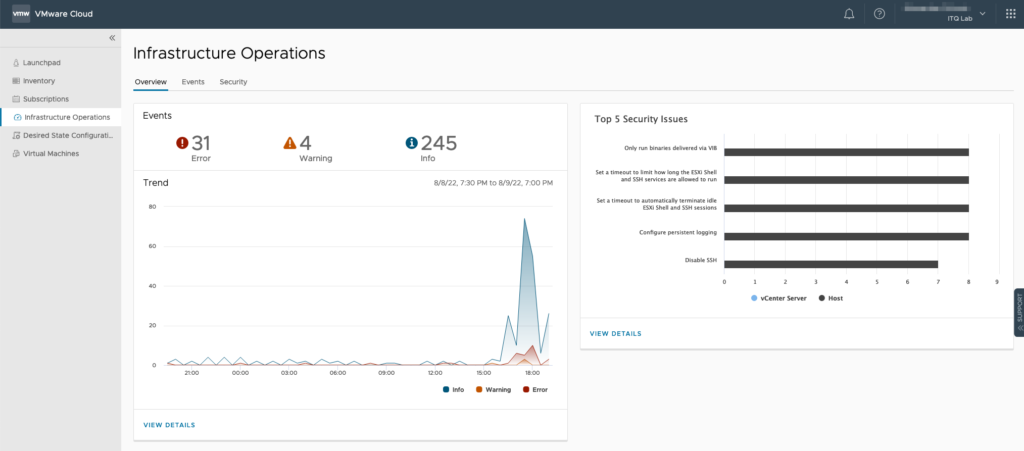
In the Infrastructure Operations menu item, I am presented with an overview of the events and security analysis (such as enabled SSH):
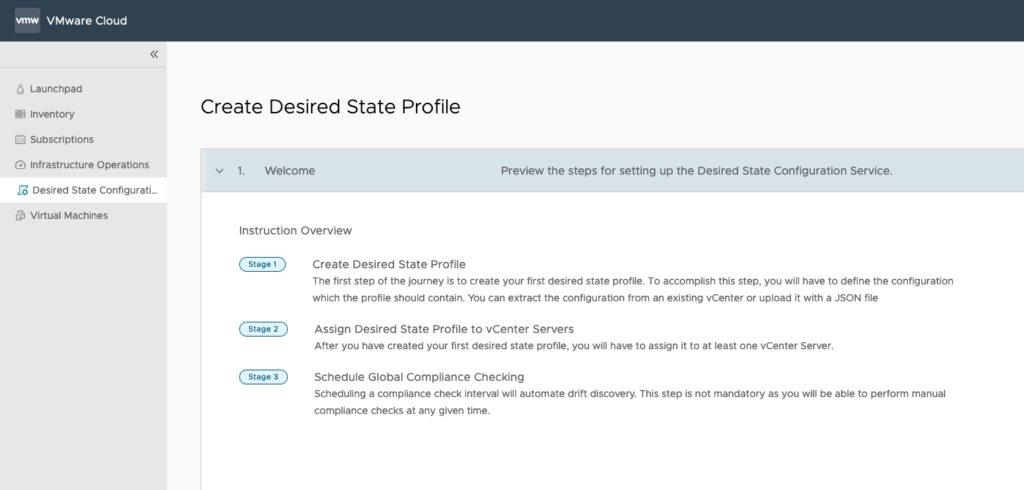
The Desired State Profile makes it possible to define a certain state (by importing directly from the vCenter or via JSON file) and then assign it to one or more vCenters. This can then be checked regularly (automatically) and in this way ” discrepancies” can be detected and avoided:
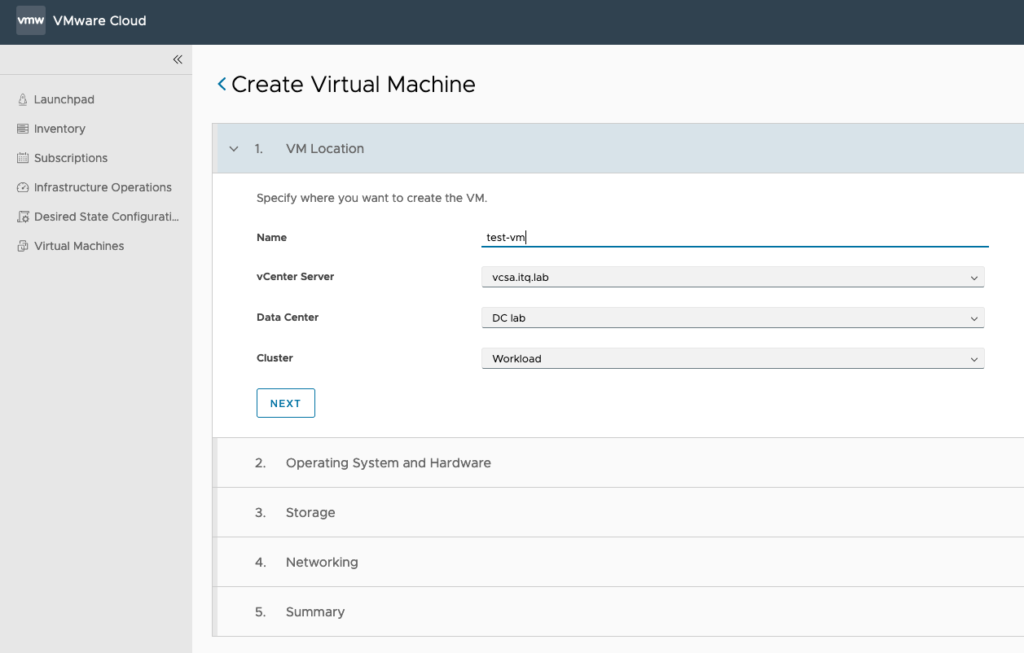
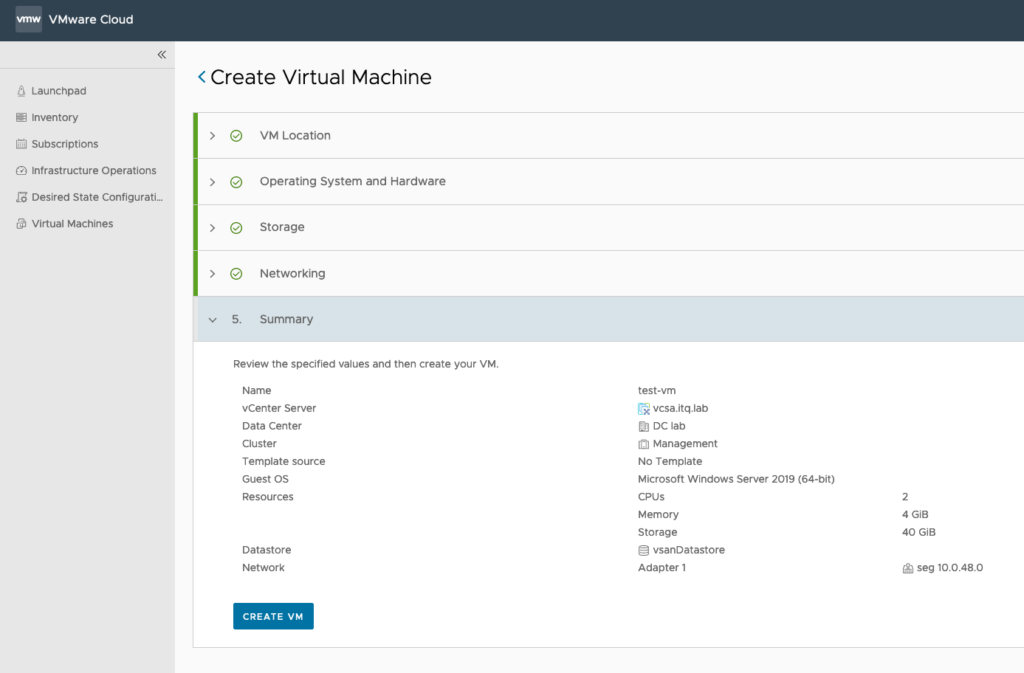
I found this quite interesting, but there is certainly more to it: Apart from just viewing the VMs, it is also possible to create a VM from the VMC interface:
Conclusion
vSphere+ (and vSAN+) are certainly a very nice idea, but in my opinion the advantage (or the goal?) currently lies more in the change to the licensing model that one is getting involved with, because there is a change to subscriptions. Extra functions for vSAN (aka vSAN+) are not yet to be discovered, and the extras for vSphere+ are also manageable or still very much in line with other services such as Skyline Advisor. VMware has taken a first step here and shows with some first examples (vCenter Update/Upgrade and the creation of simple VMs via VMC) what a truly centralised administration of a strongly fragmented vCenter environment could look like.
In addition, through the connection to VMC, interaction with other VMC services is also imaginable in the future (such as VMware Cloud Disaster Recovery, Hyperscalers,…) or already in sight, as mentioned in this VMware blog article.
To complete the picture, you can also read the VMware documentary itself here:
https://docs.vmware.com/en/VMware-vSphere+/services/vsphereplus-using-managing/GUID-7D5545D9-6E35-48AA-88AE-BE549940344F.html
🐵